
May 2, 2019
Integrate Gorgias and SMSBump to Improve Customer Support in Shopify
SMSBump wants to help you not only increase your Shopify sales, but also give your customer service a boost. Doing support in Gorgias is a blast for so many Shopify merchants, so we decided to create a way for easier text messaging that helps handle customer questions faster and more organized.
Introducing the new Gorgias integration with SMSBump for Shopify!
Now you can connect your SMSBump app with the Gorgias helpdesk system and transform all customer SMS replies into new support tickets.
Now you can:
-
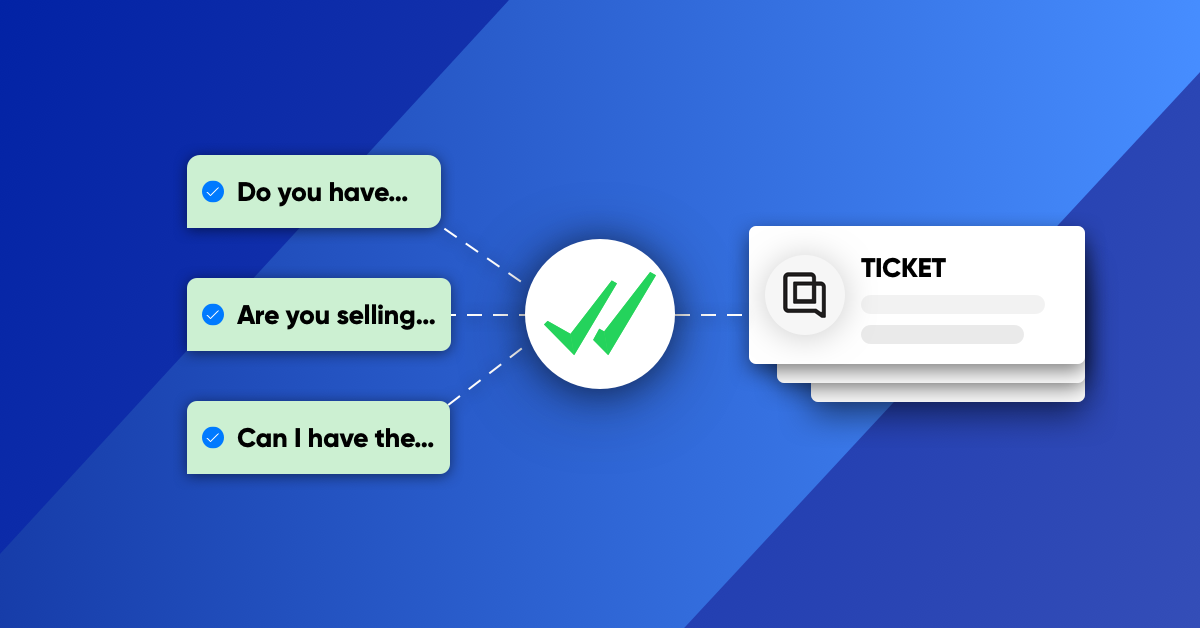
Automatically generate tickets in Gorgias when a customer replies to an SMSBump text message from your Shopify store.
-
Any replies to a Gorgias ticket will automatically be sent to the customer with a text message from SMSBump.
-
The conversation will also be mirrored in SMSBump should you chose to carry on the support from there.
Connection Instructions for Integrating SMSBump with Gorgias
Before you begin, you need to have an active Shopify store, Gorgias account and plan, and an enabled SMSBump* or higher plan.
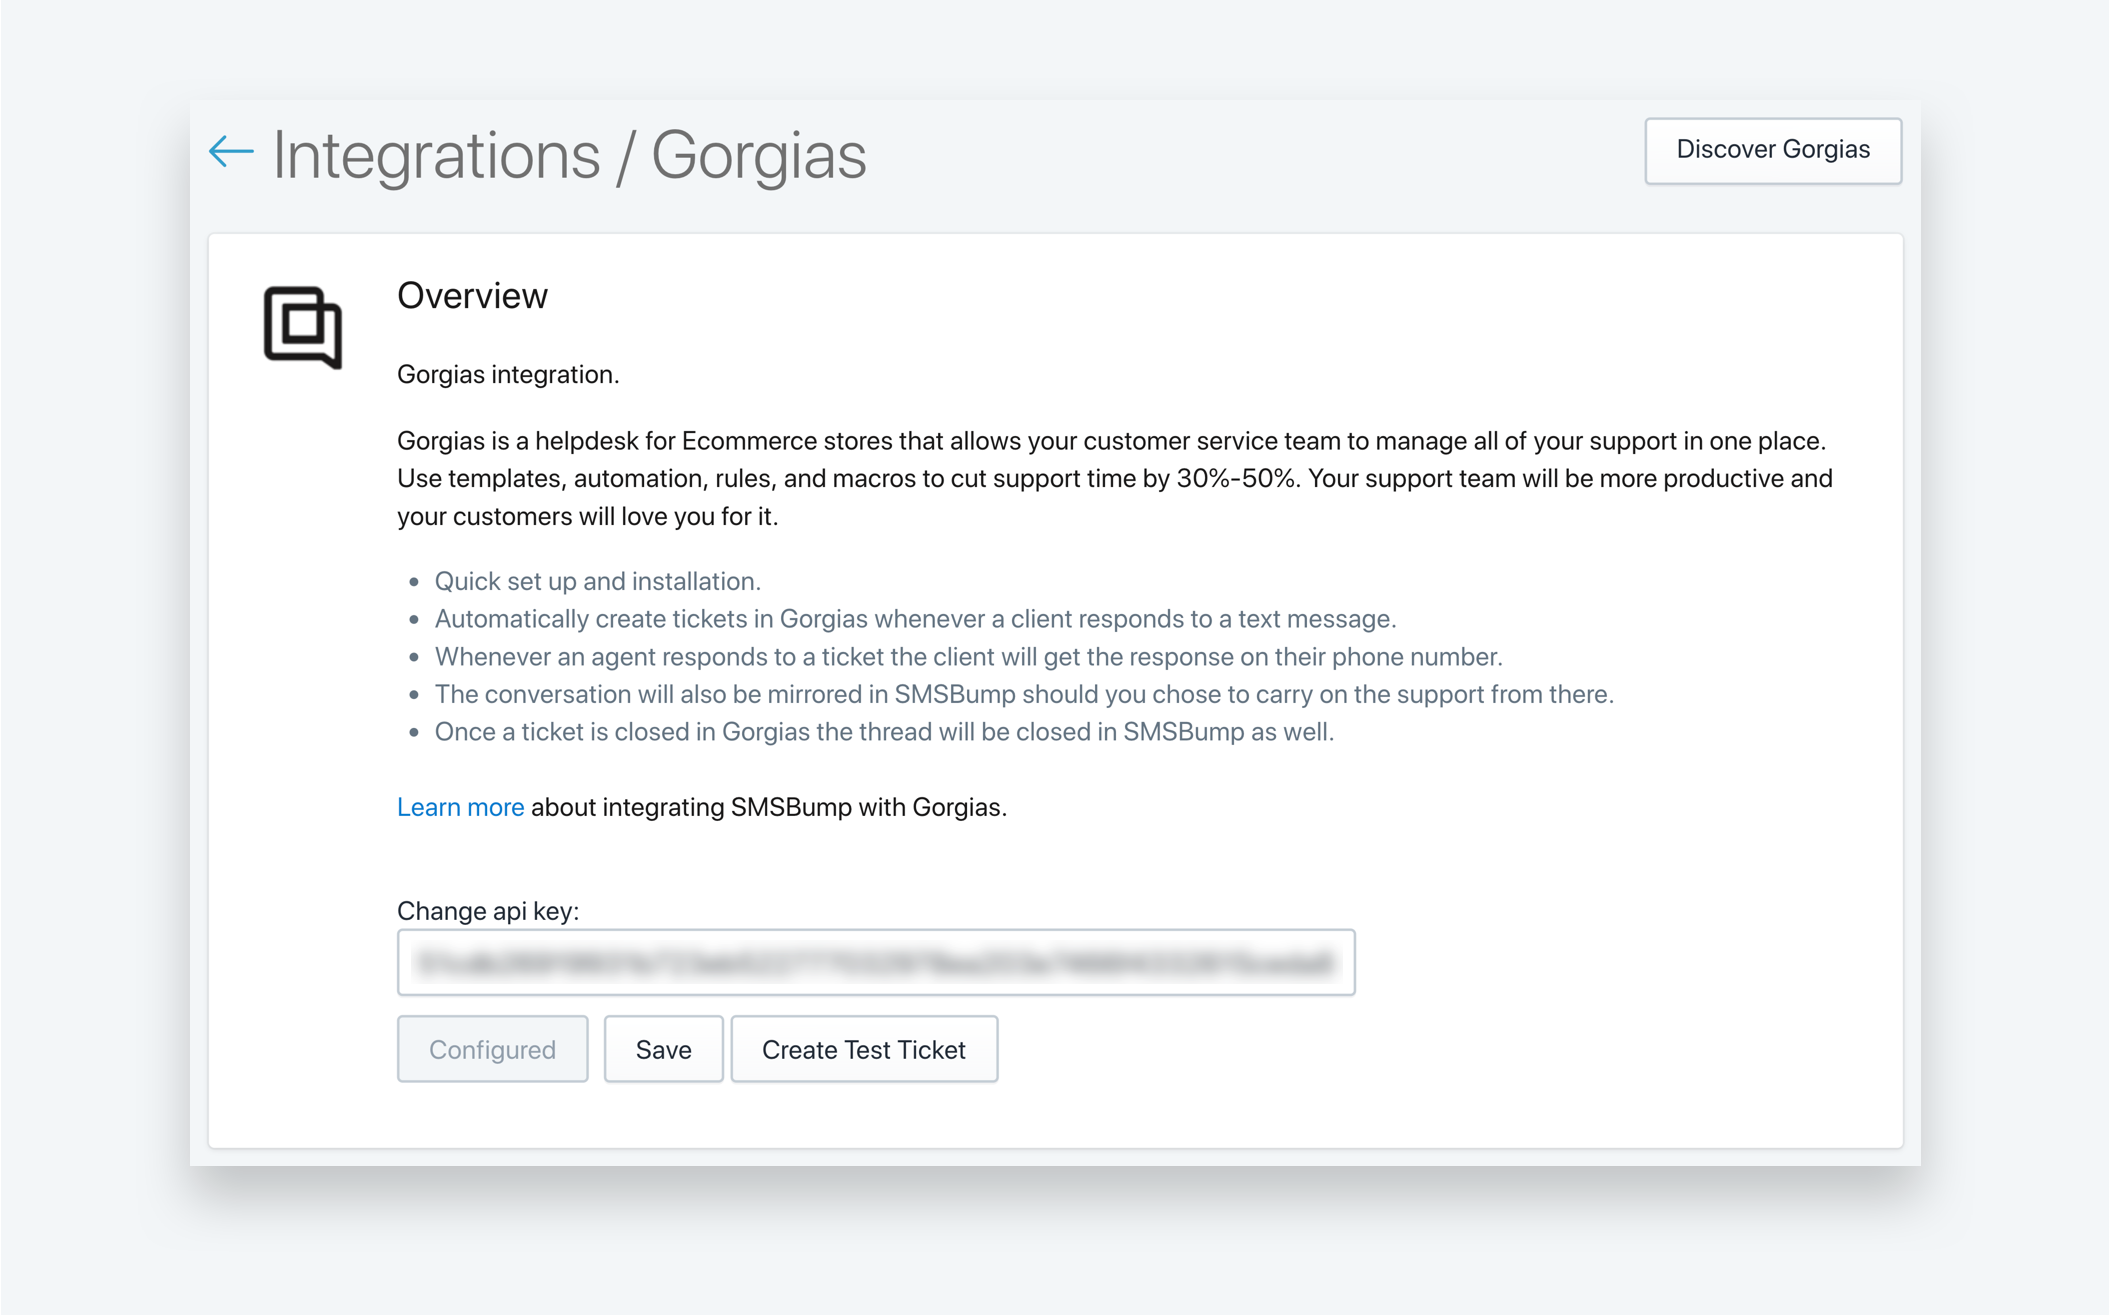
Start by going to your SMSBump app and clicking on Integrations and then Gorgias.
The integration is complete by connecting an API key from your Gorgias helpdesk account. Here’s how to do it.
Step 1: Go to your Gorgias account, click the menu and open your Settings.
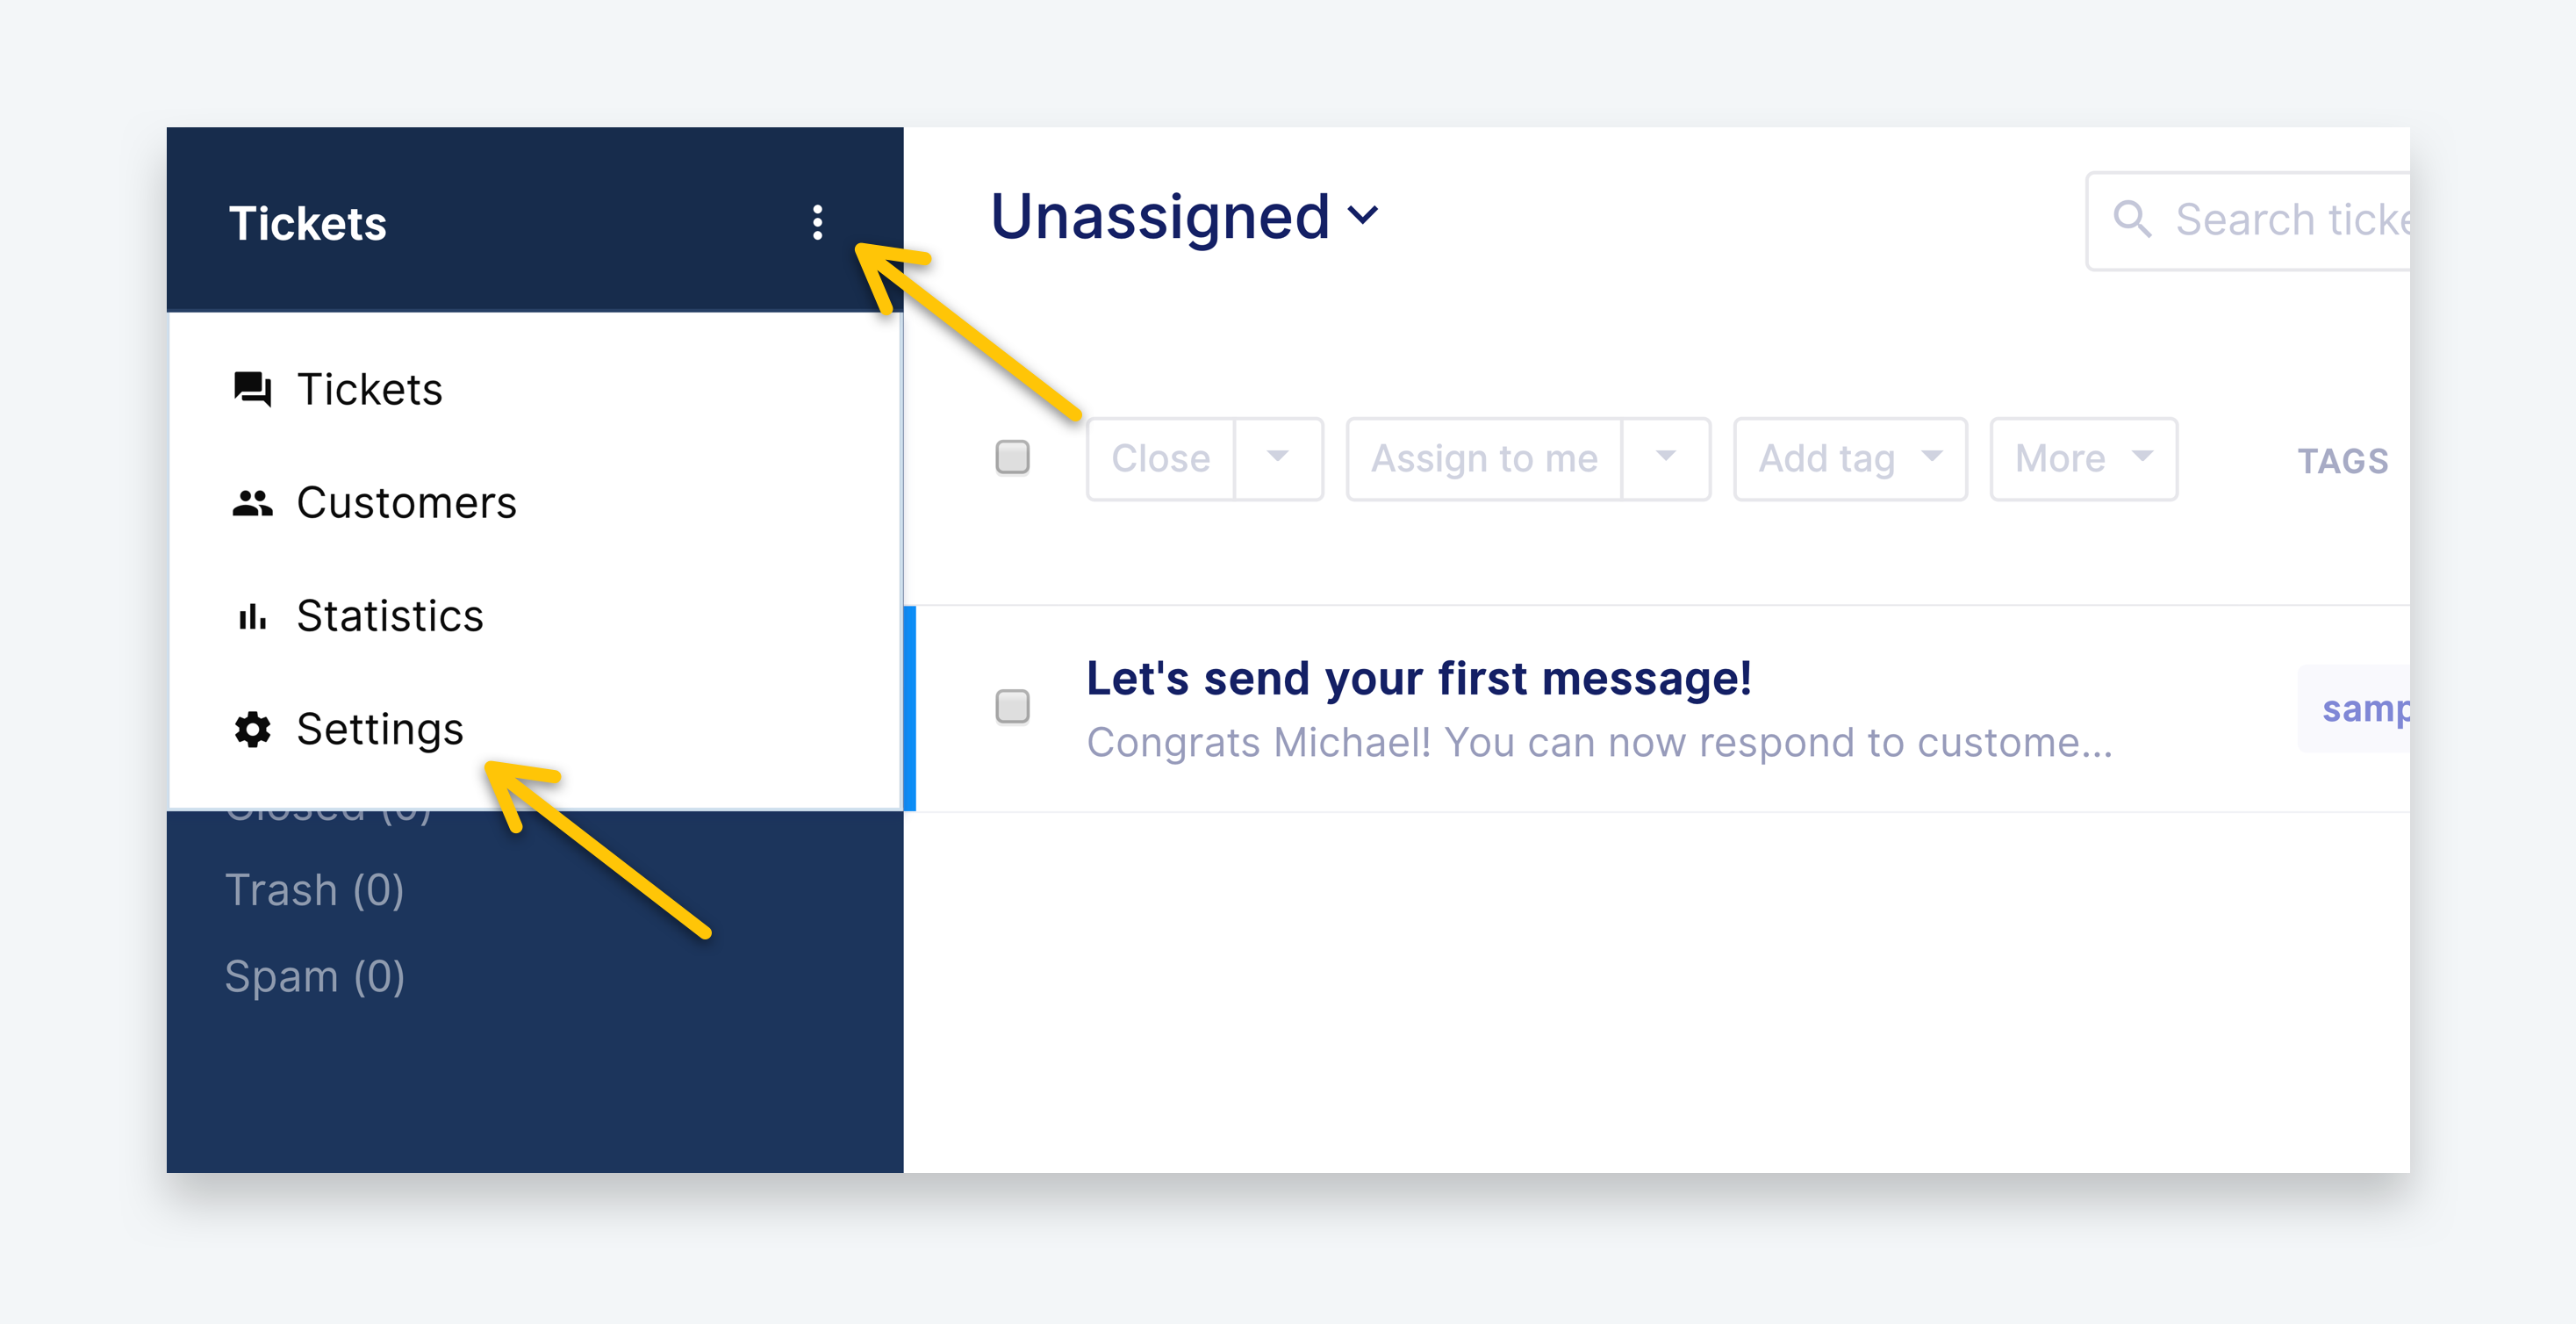
This is where you will see the settings for your profile and additional functionalities of the Gorgias helpdesk.
Step 2: Click on REST API in the Settings menu.
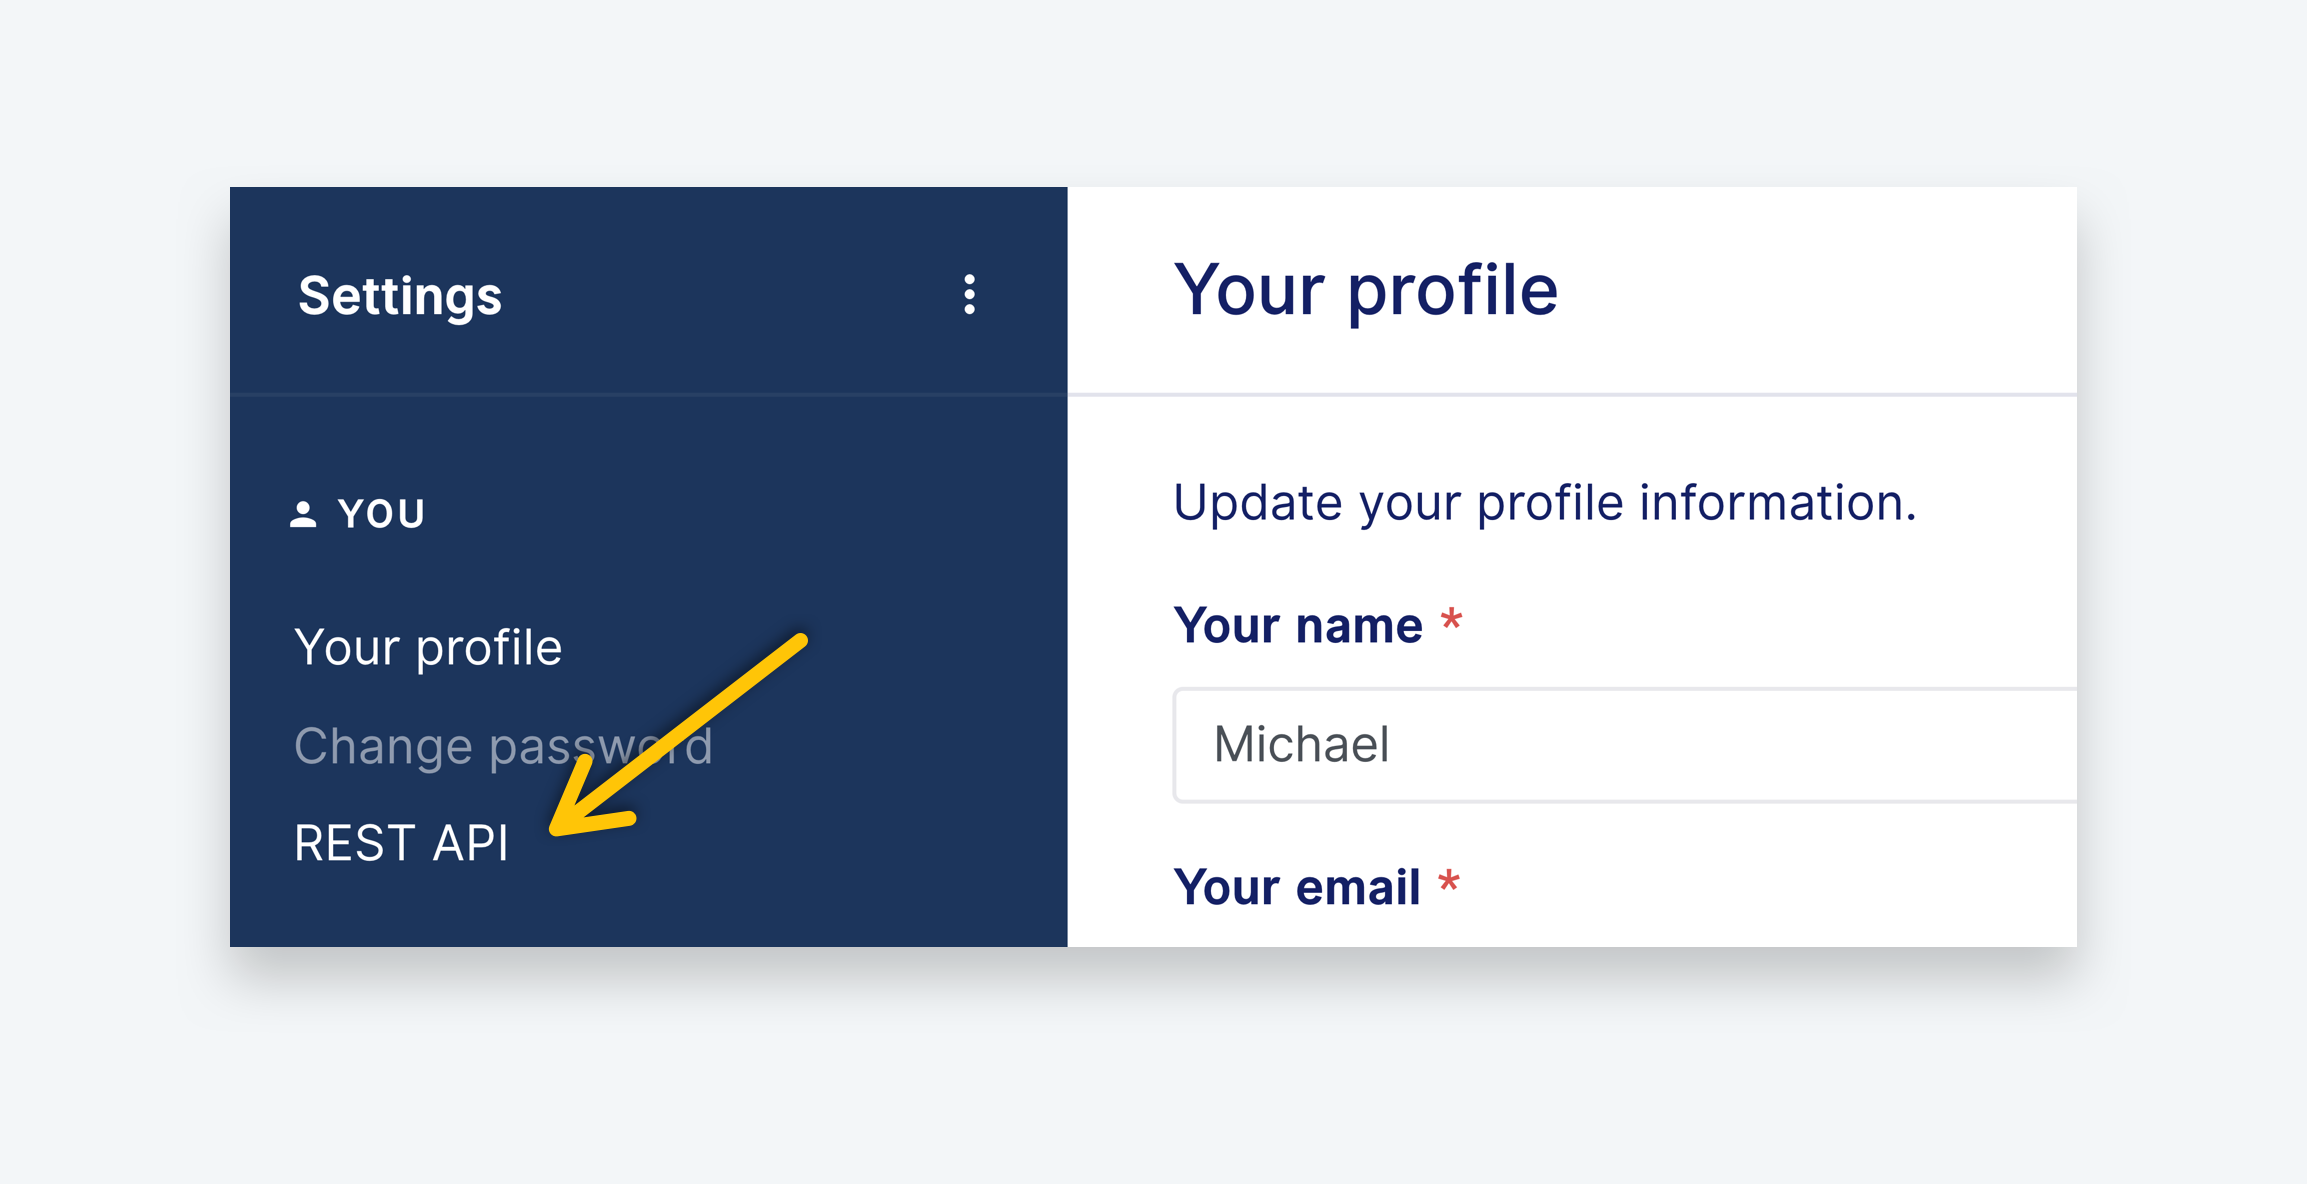
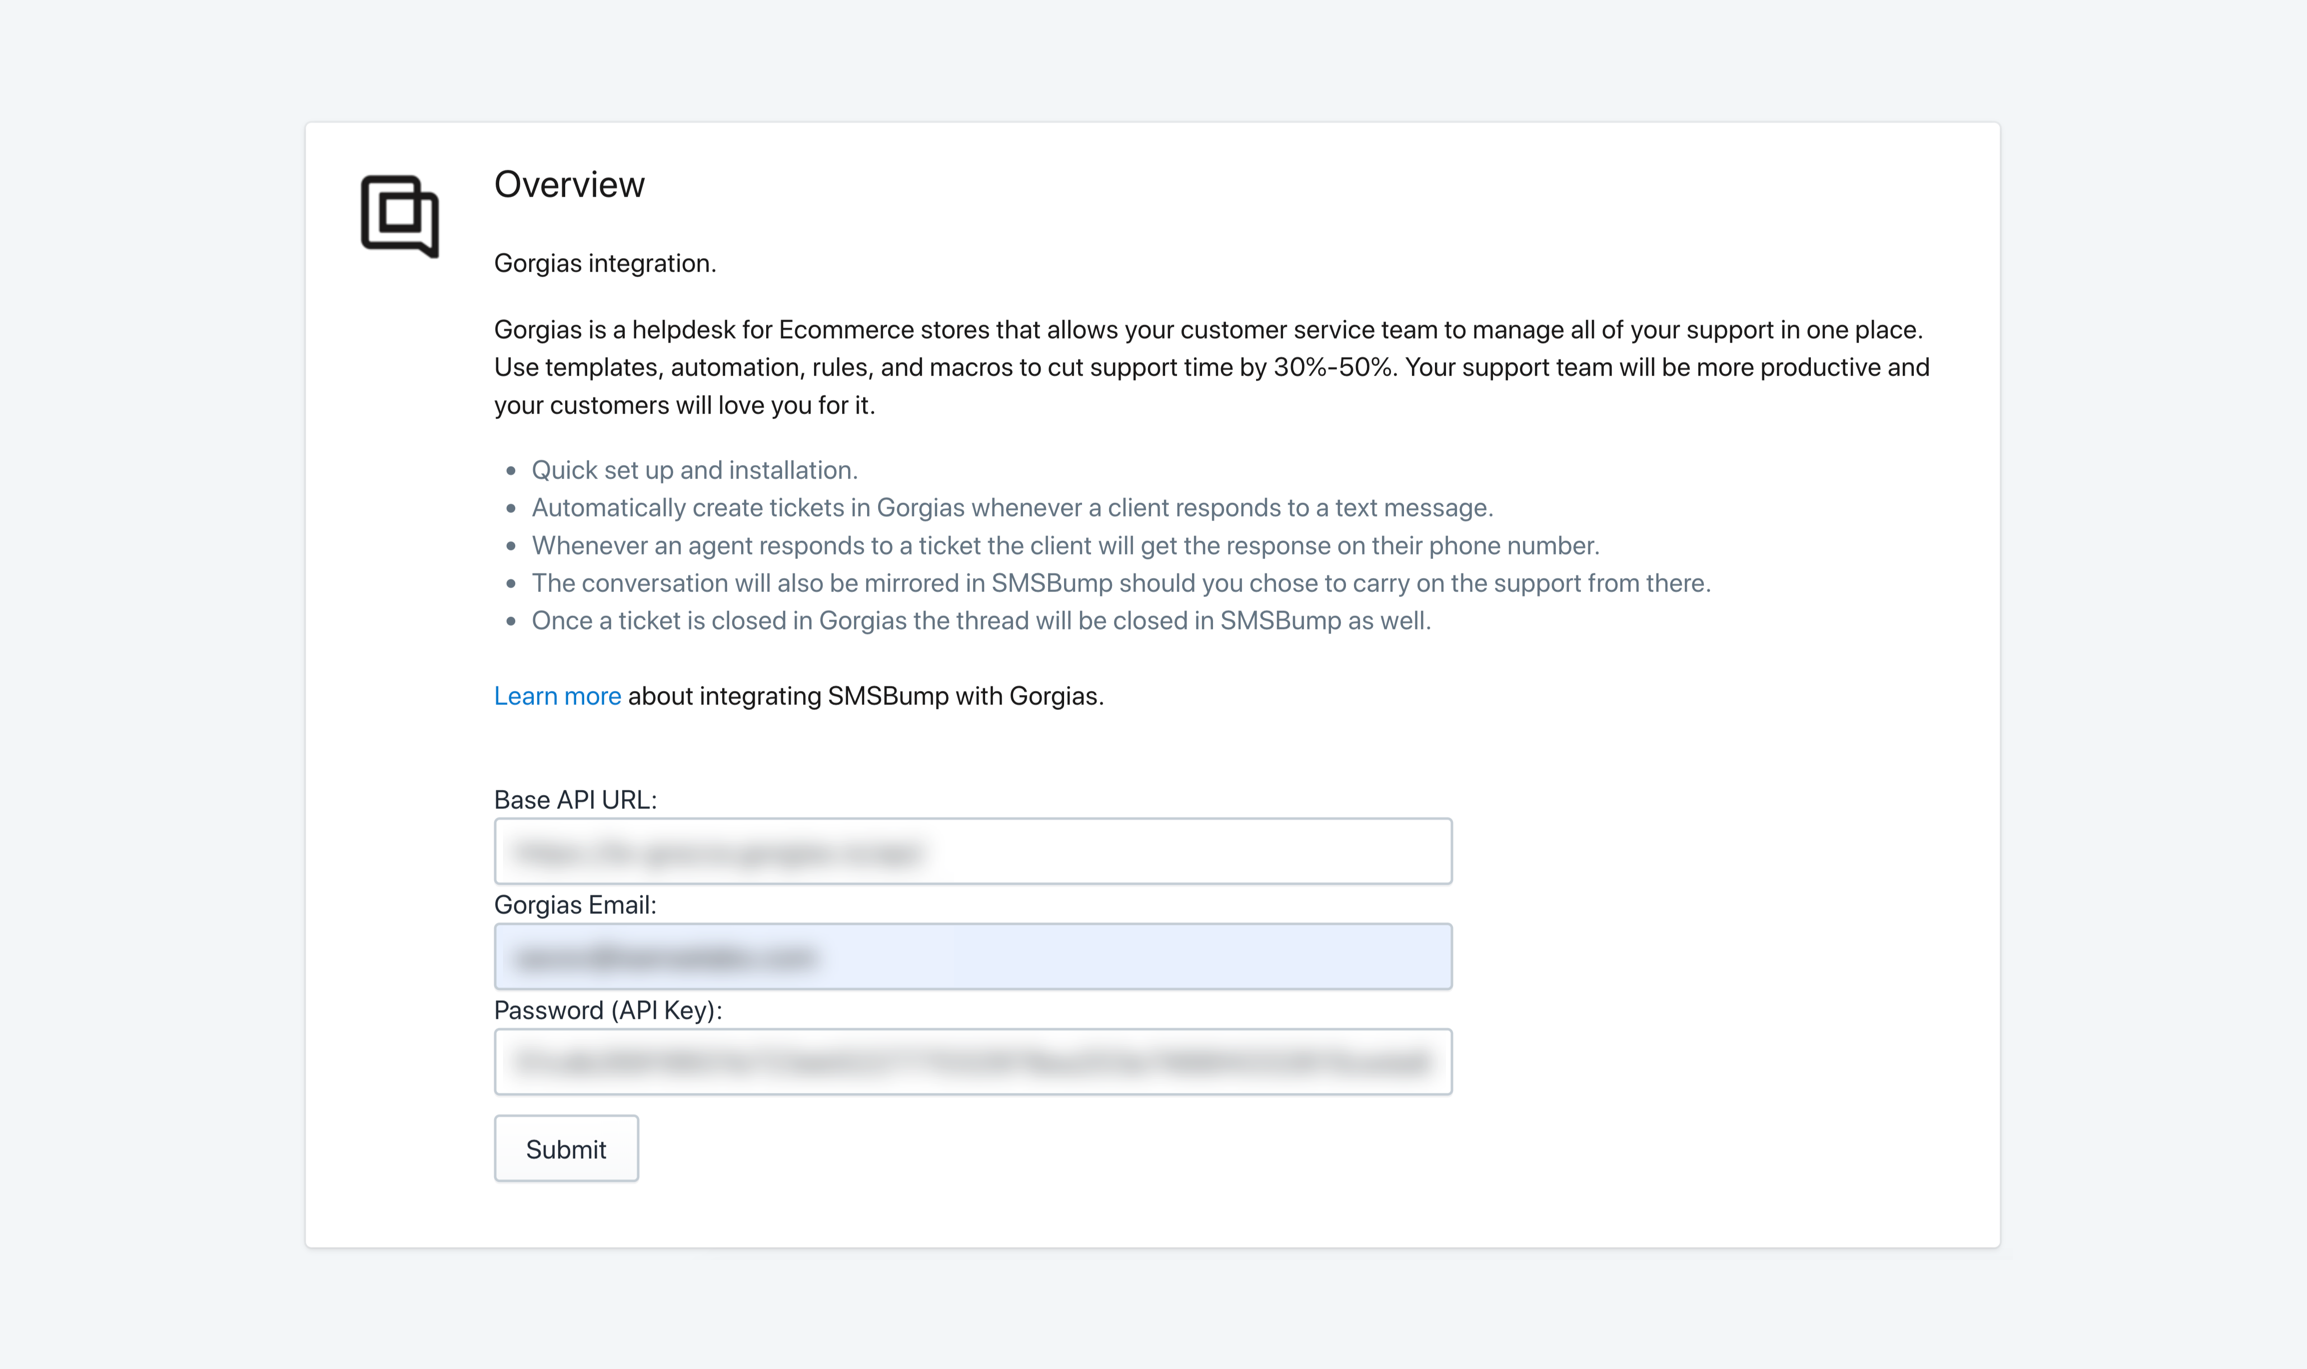
This section contains all of the necessary details for integrating your app using your Gorgias API key.
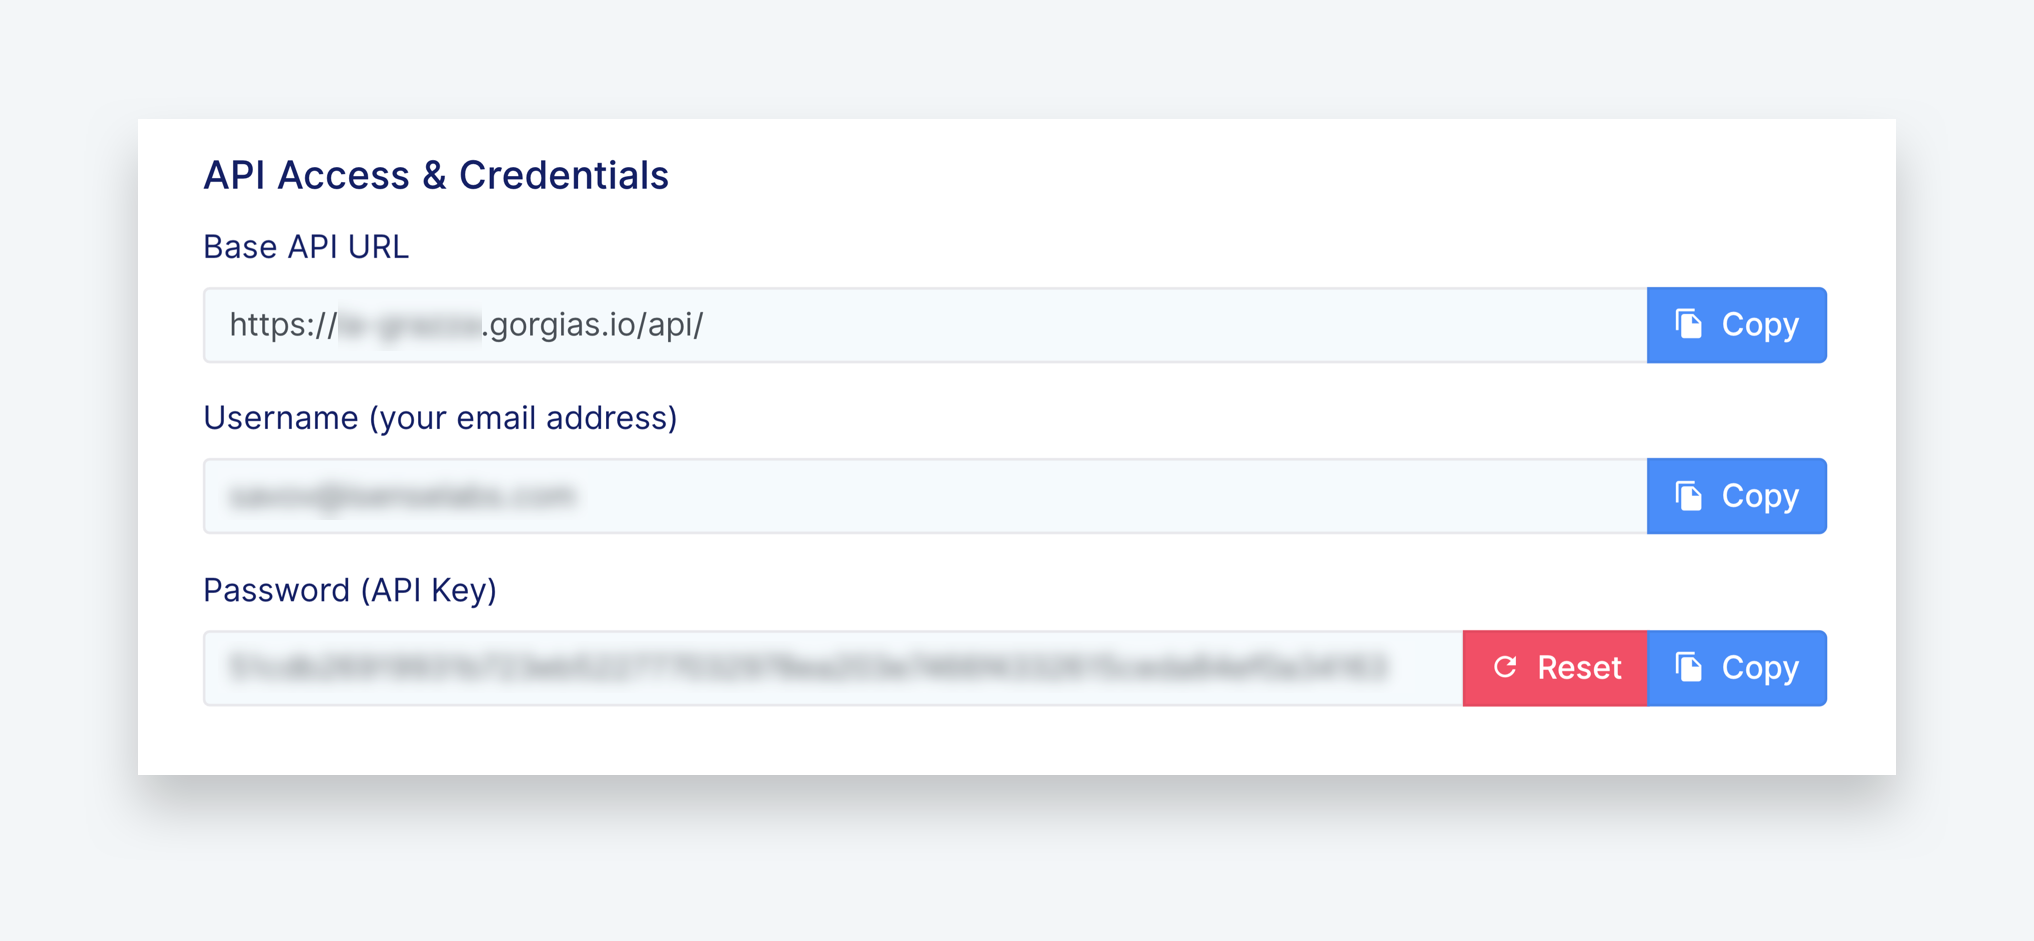
Below the overview you have three fields containing the data you’re going to need to complete the integration:
-
Base API URL
-
Username (email address)
-
API Key
Step 3: Copy each of the fields into their corresponding fields in the SMSBump Integration Page for Gorgias.
(SMSBump App > Dashboard > Integrations > Gorgias)
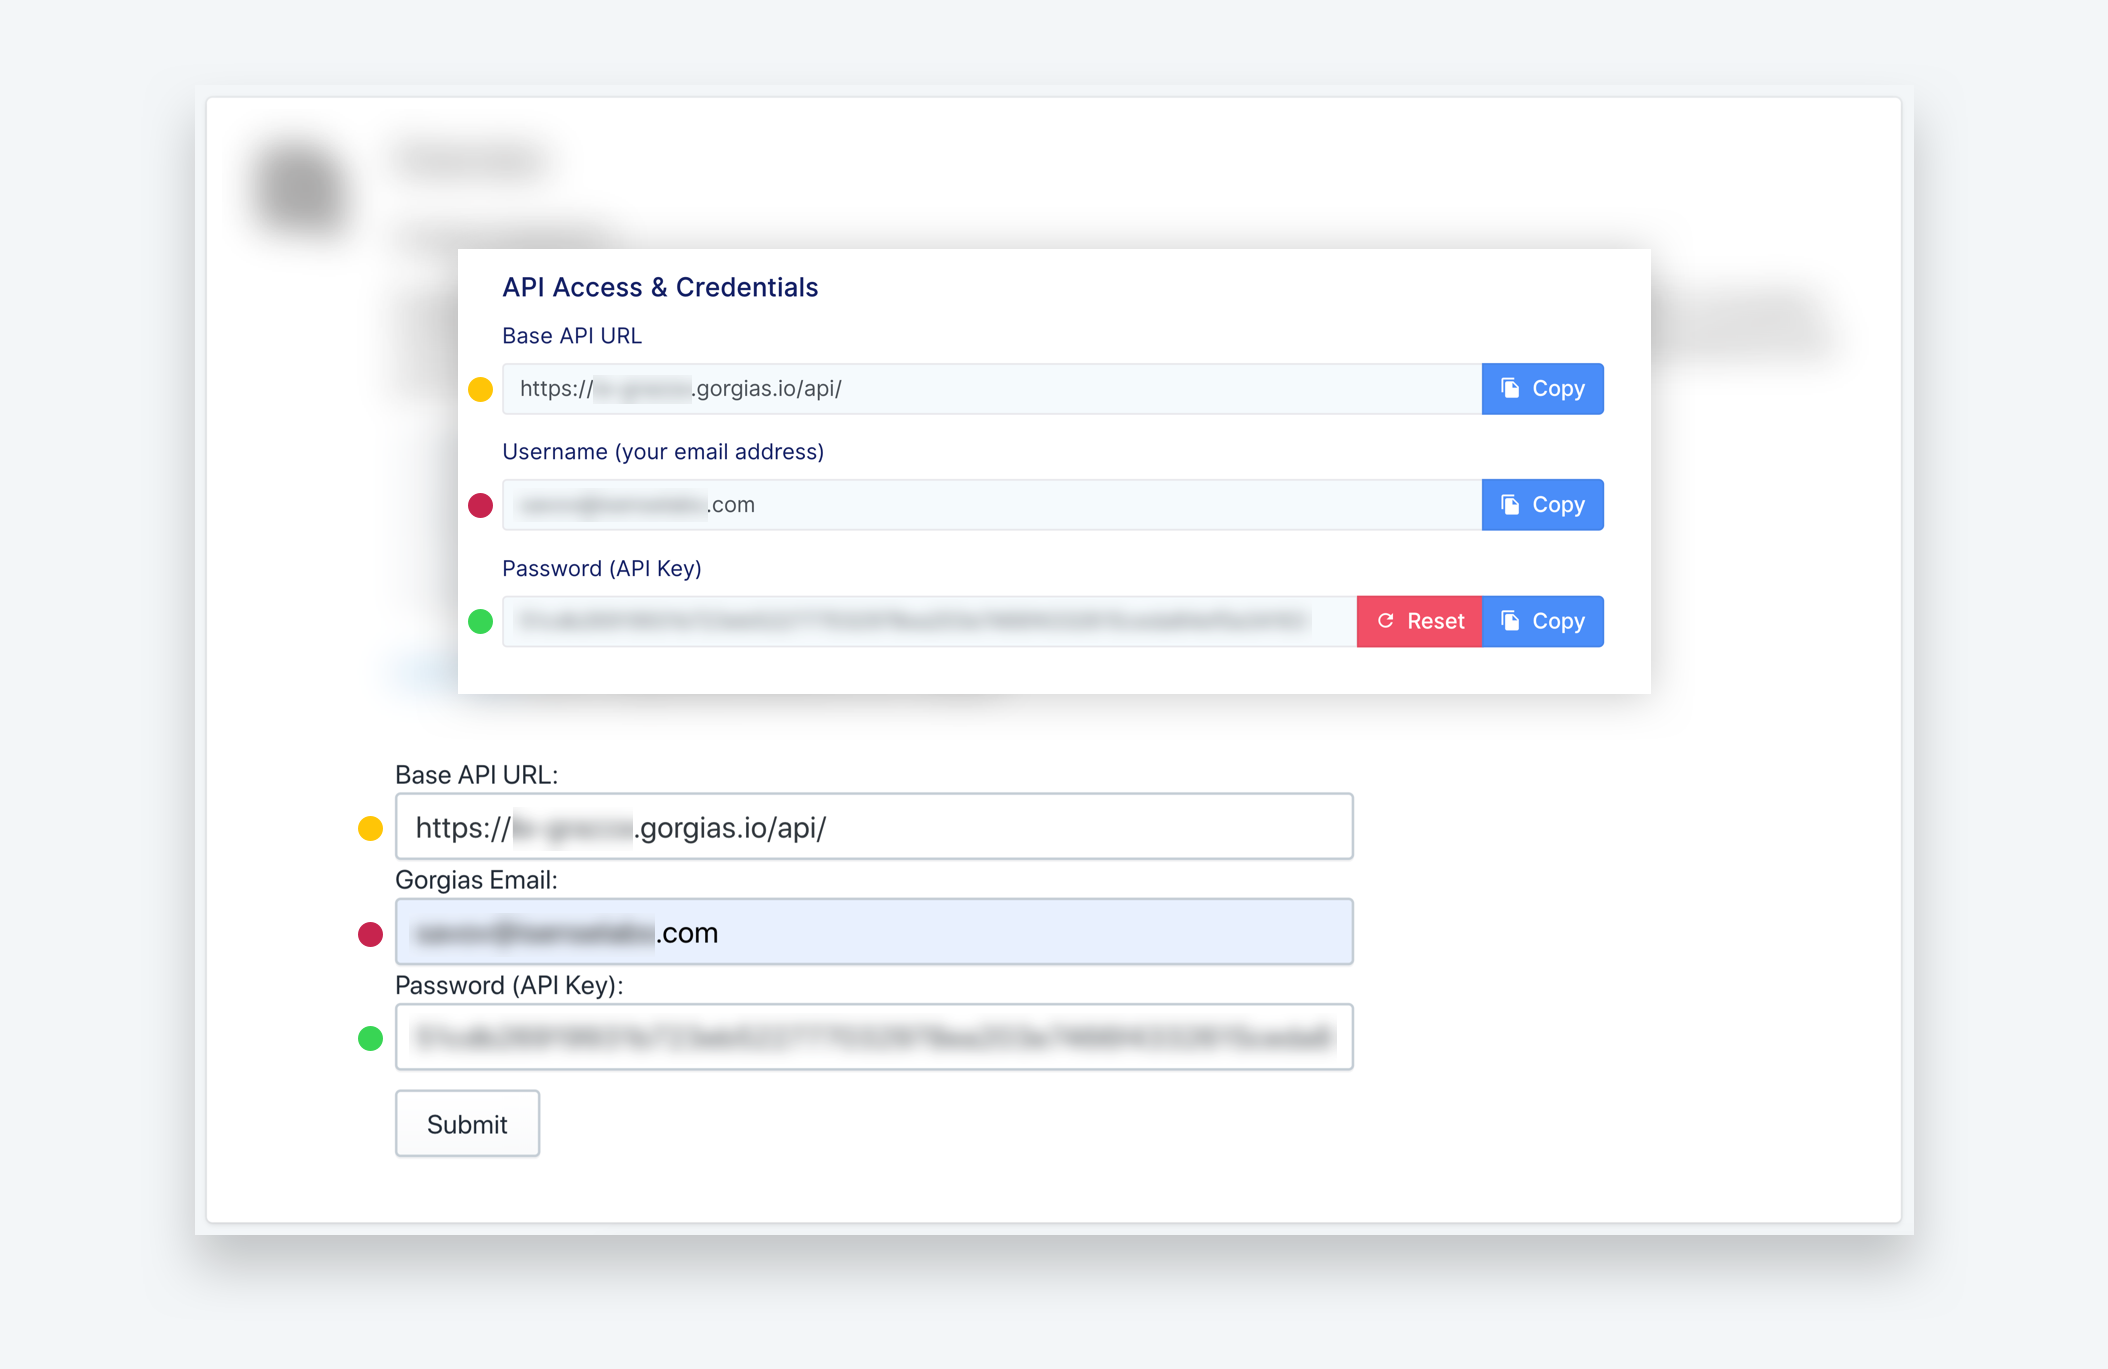
Step 4: Complete the integration by clicking Submit after you’ve entered all the details.
This will finalize the connection and your Gorgias account and SMSBump app will now be integrated.
Congratulations, that was it!
Step 5: Click on the Create Test Ticket button.
If everything is working correctly you should have received a new open ticket in your Gorgias helpdesk system coming from SMSBump.
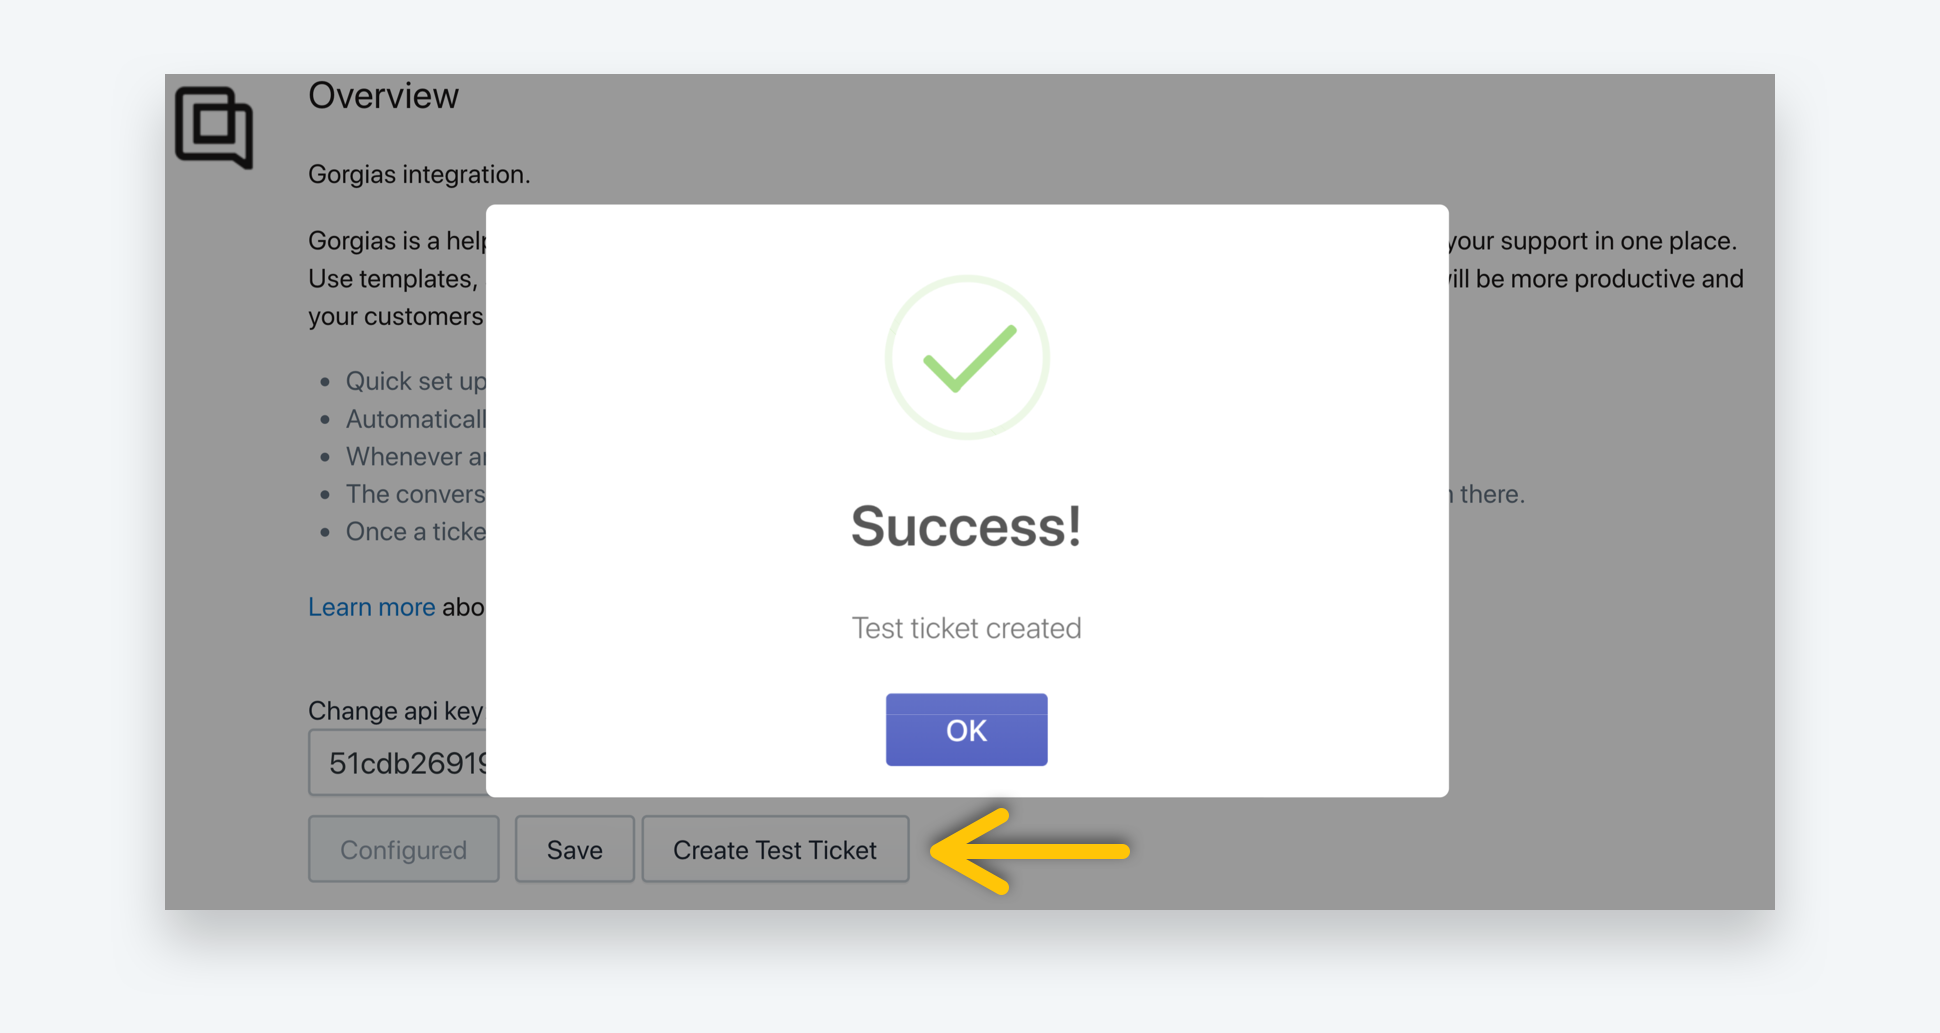
This is so you can confirm the connection is active and to get familiar with your new method of communication with customers.
Go to your Gorgias account and open your tickets to see if your new ticket from SMSBump has arrived.
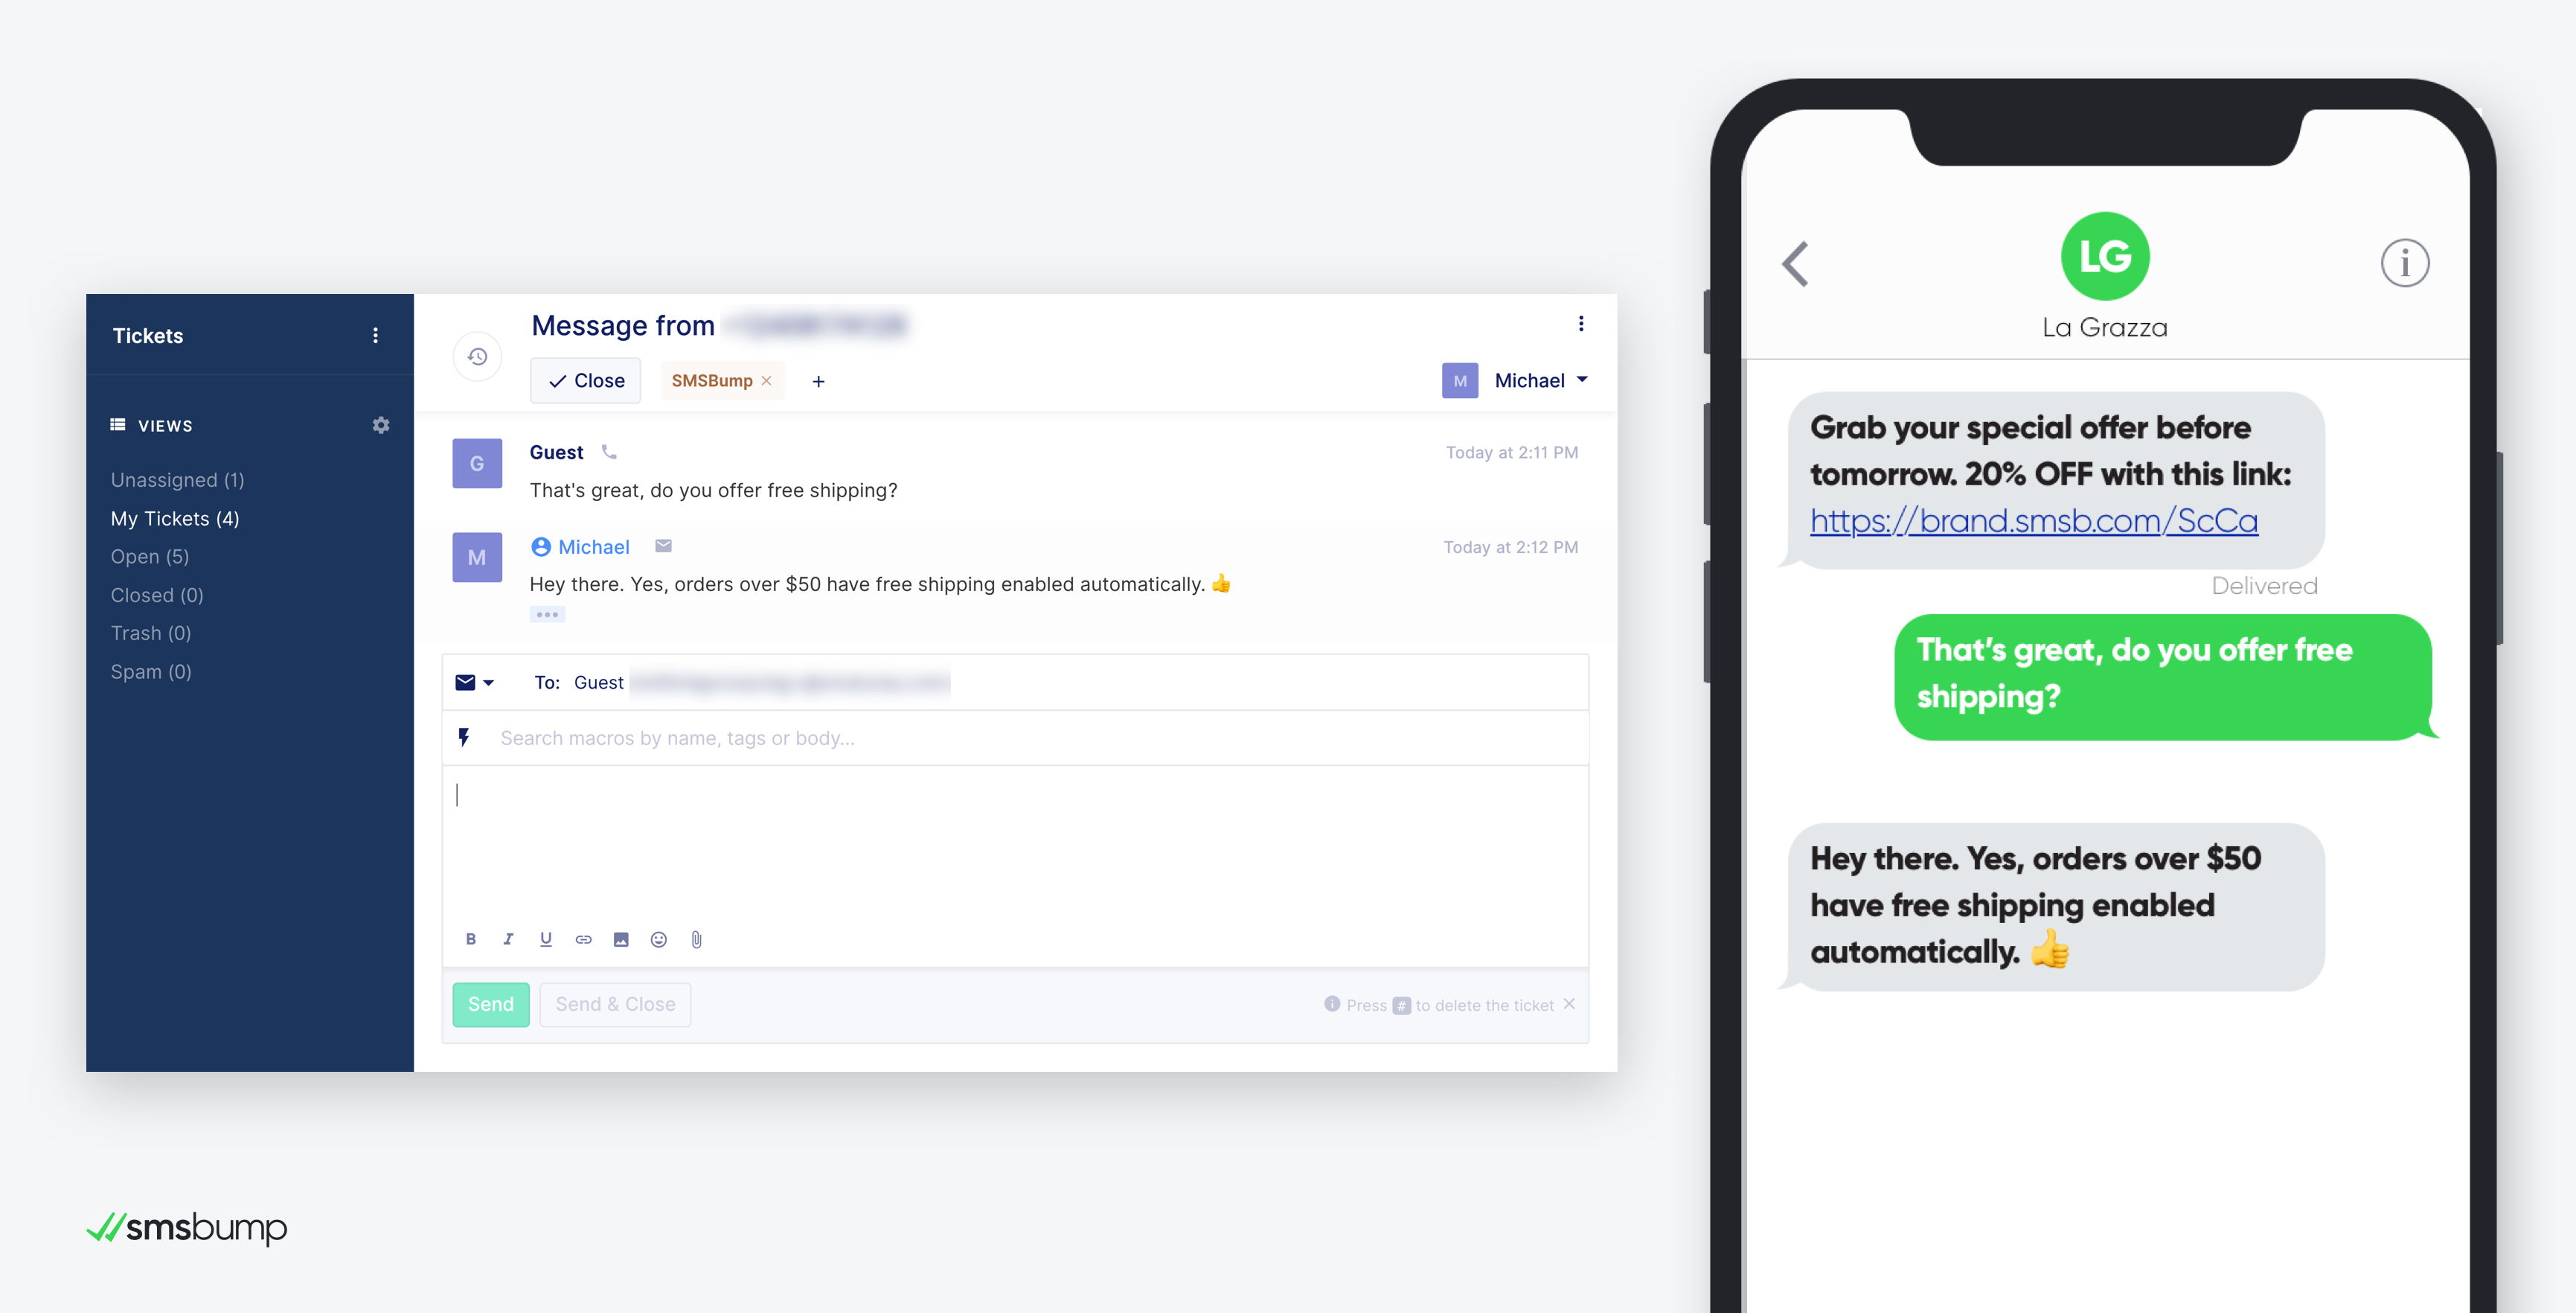
It should look something like this:

The most notable things you should know here are that the new tickets coming from SMSBump will have their own tags so you know the source of the ticket.
This way you will know that you need to reply to those tickets with the highest priority since they come from text messages and customers will always expect a hasty response from your brand.
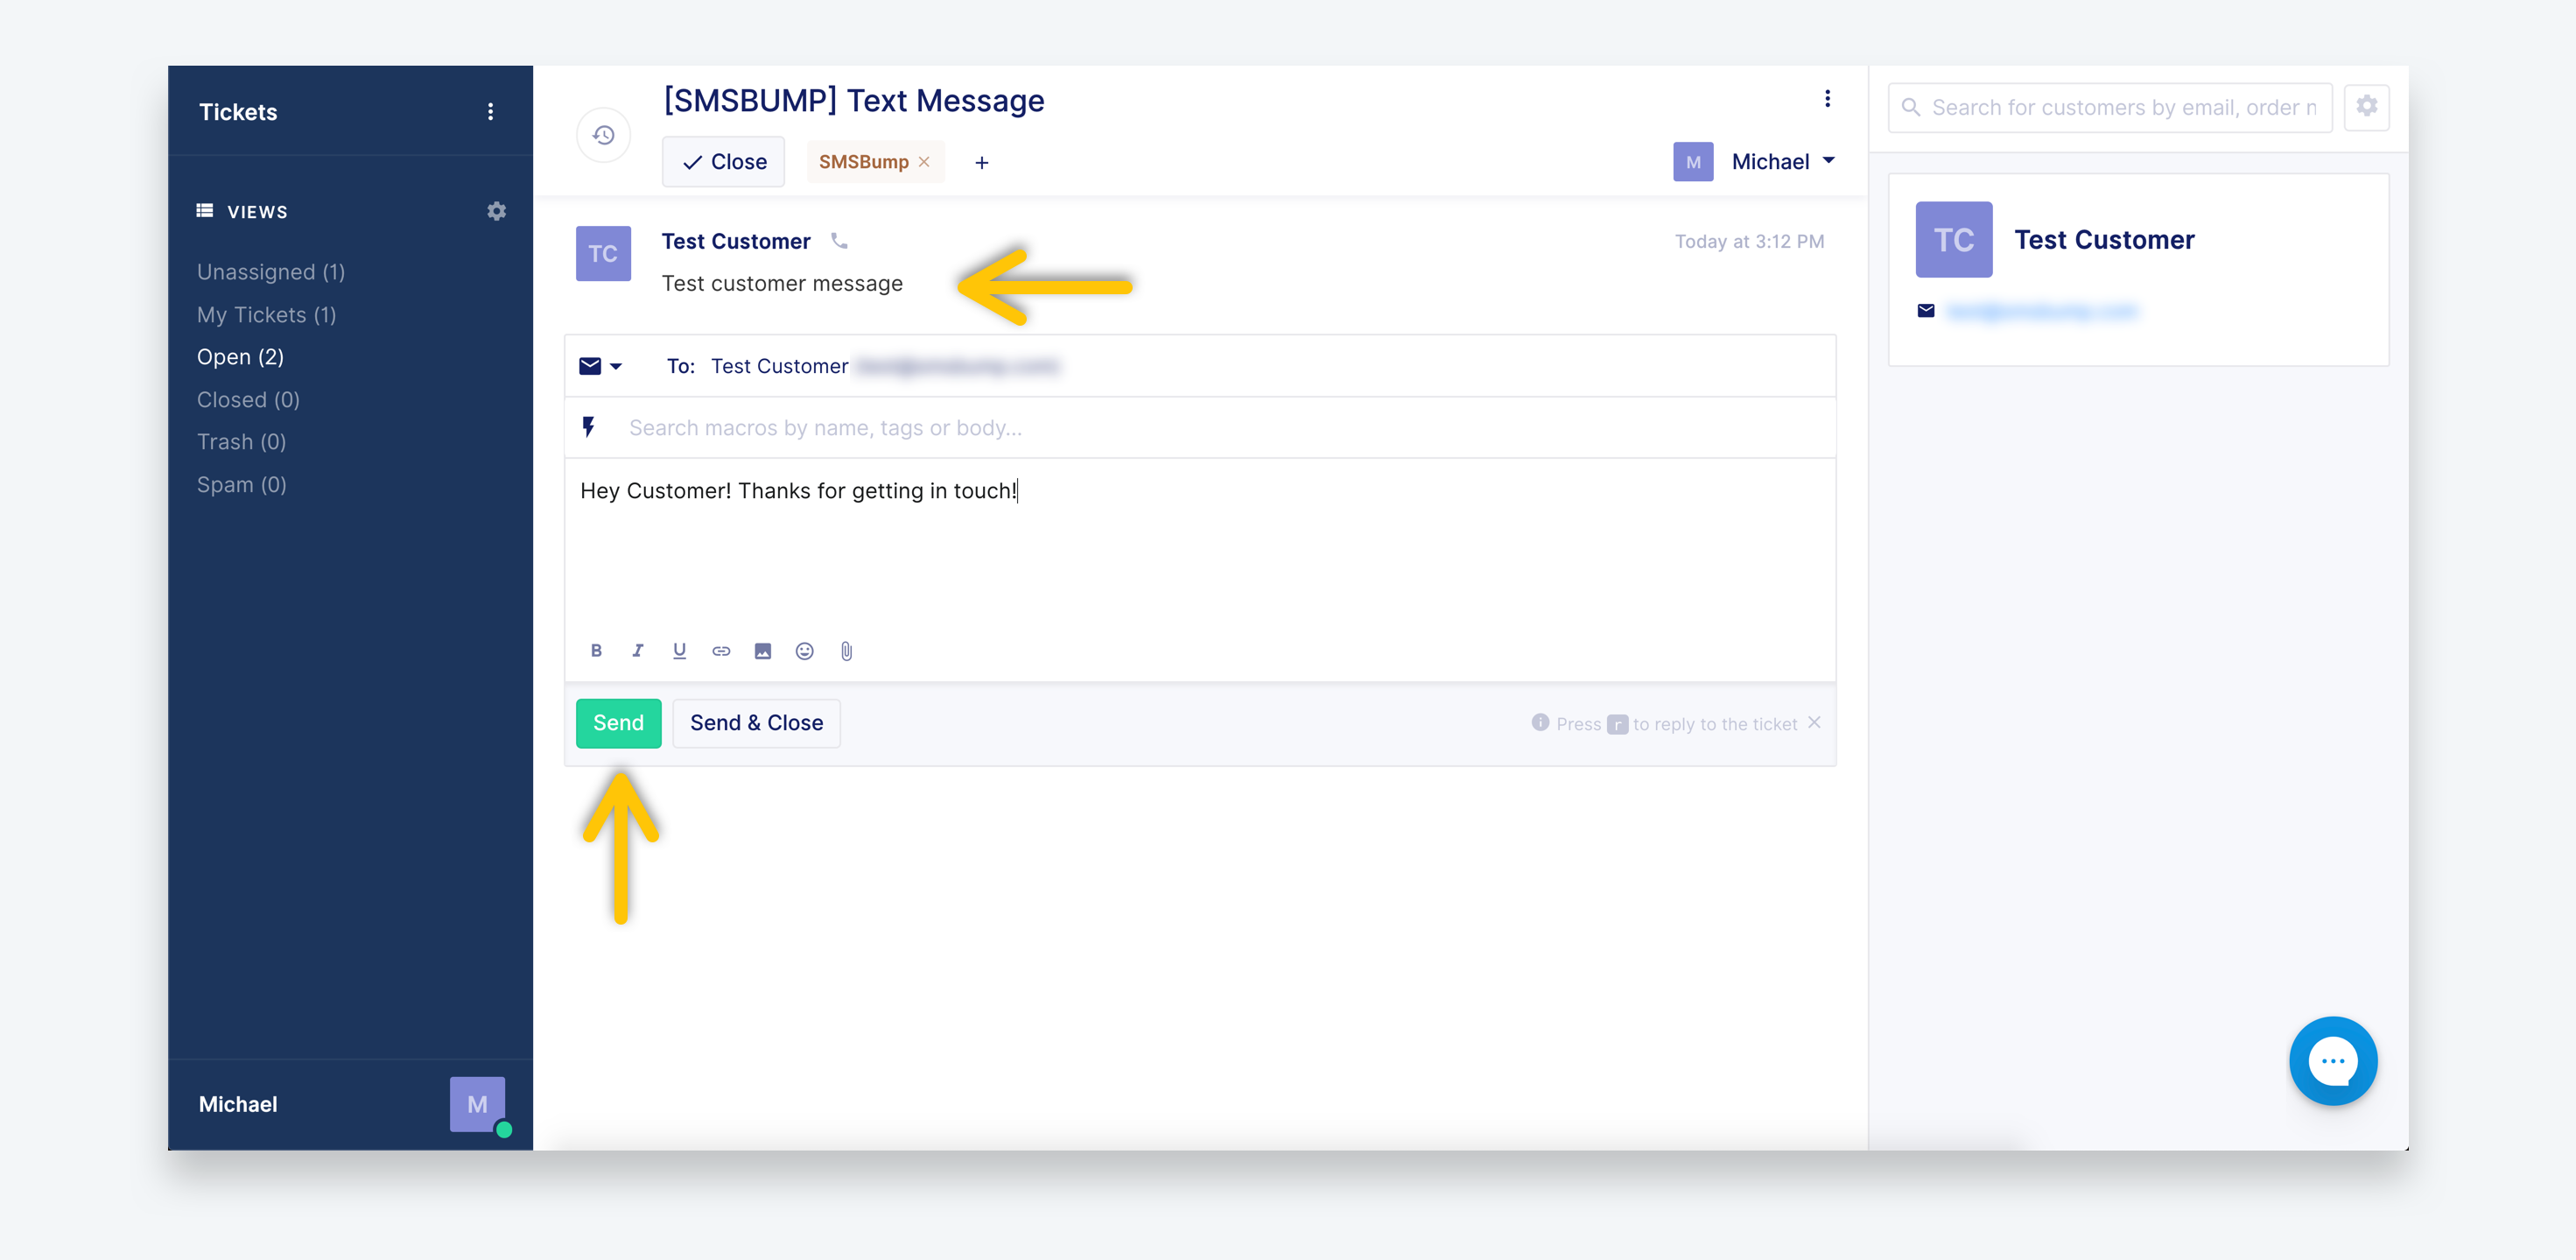
Use the text field to enter your reply and click the Send button to shoot that straight to the customer’s phone as a response to their initial text message.
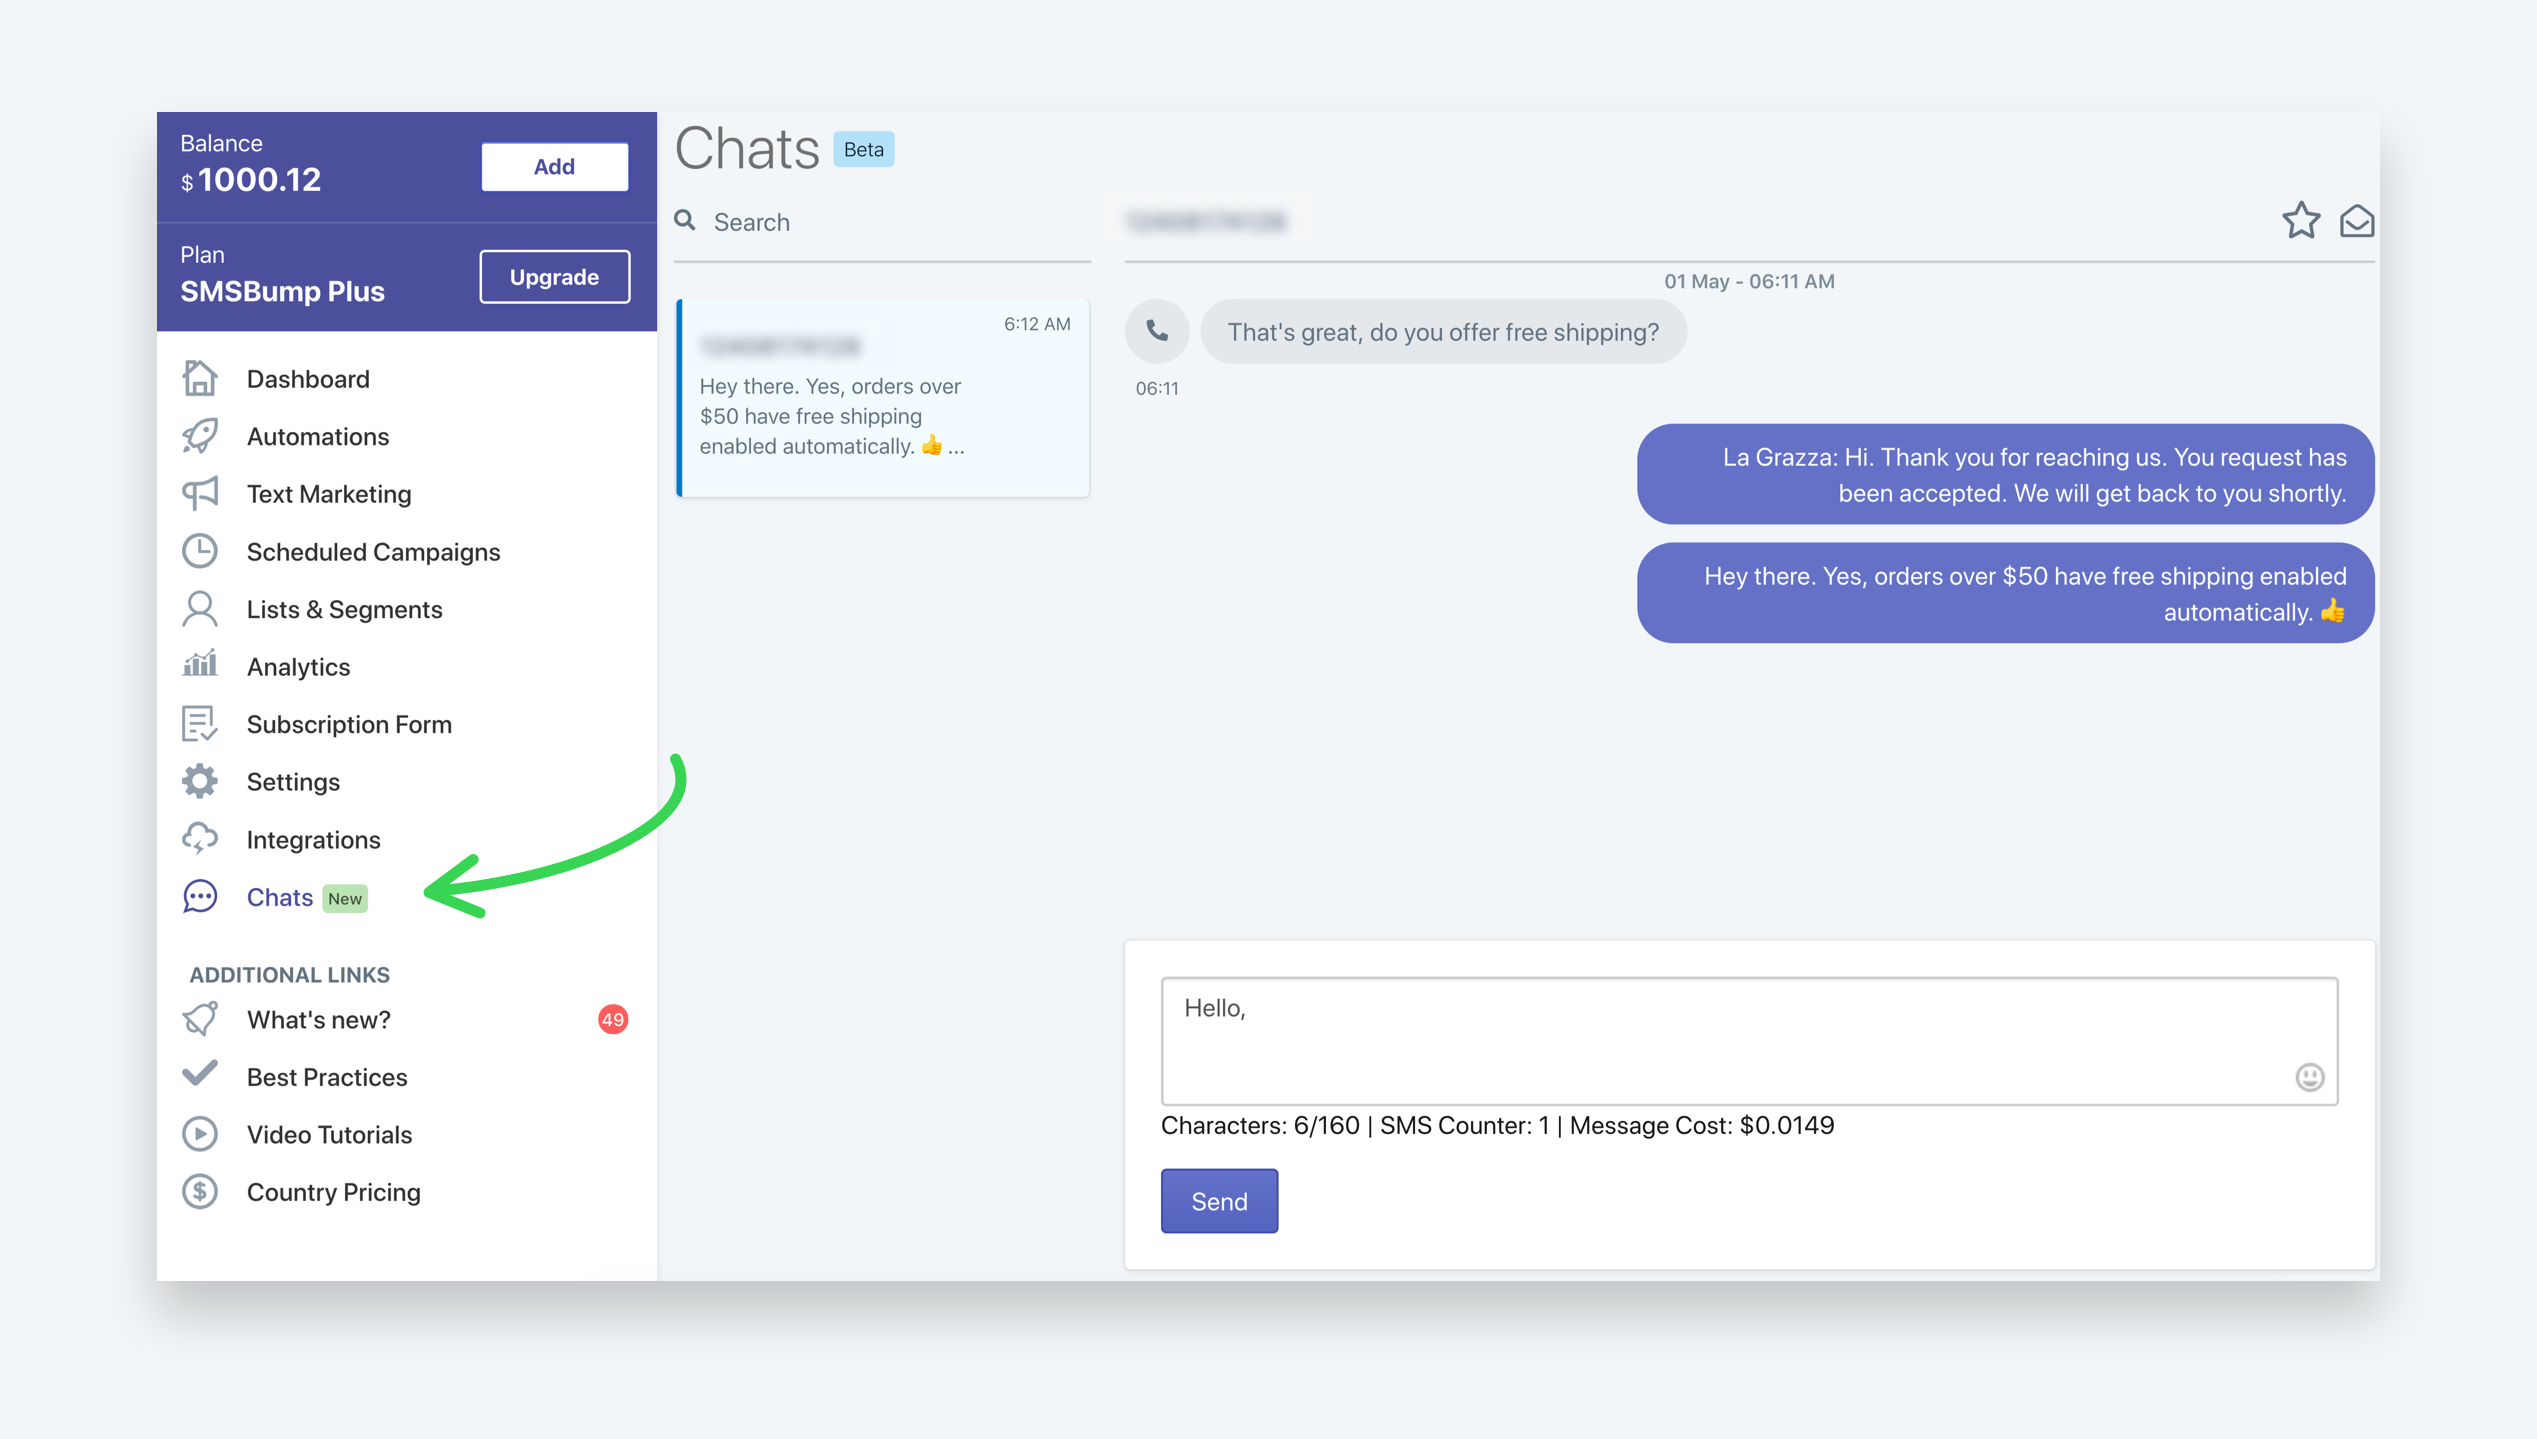
This will begin the conversation in your SMSBump Chat so you can keep track of the messages both in your Gorgias helpdesk system as well as in your app.
Customer Service Level Up!
Turn your SMSBump app into a customer support powerhouse by integrating it with Gorgias and managing all of your text message Chat conversations in one place. Fast replies means more satisfied customers. More satisfied customers means more conversions and retention. Get to it!

Mihail Savov
Start growing today
Sign up today and join 90,000+ eCommerce businesses making it big with Yotpo SMSBump