
June 8, 2017
How to Setup Your Time Zone to Schedule SMS Marketing Campaigns
A successful SMS campaign is all about timing. Sending out the right text at the right time.
If you are already using SMS in your marketing and customer service strategy, you already know its benefits and how much it simplifies your workflow.
Knowing that 99% of texts are opened and read within the first 3 minutes allows you to have control over when your recipients will see your SMS.
Based on your customer segmentation and the degree to which you are familiar with them, you can select the most appropriate time to send out your campaigns.
To time your messages right, you need to set your time zone in SMSBump.
Automatic Time Zone Detection
Upon registering your account, you will receive a notification that will request your location so that we can detect your time zone.
Click Allow for an automatic detection, or Don’t Allow if you want to set your timezone by yourself.

Manual Time Zone Configuration
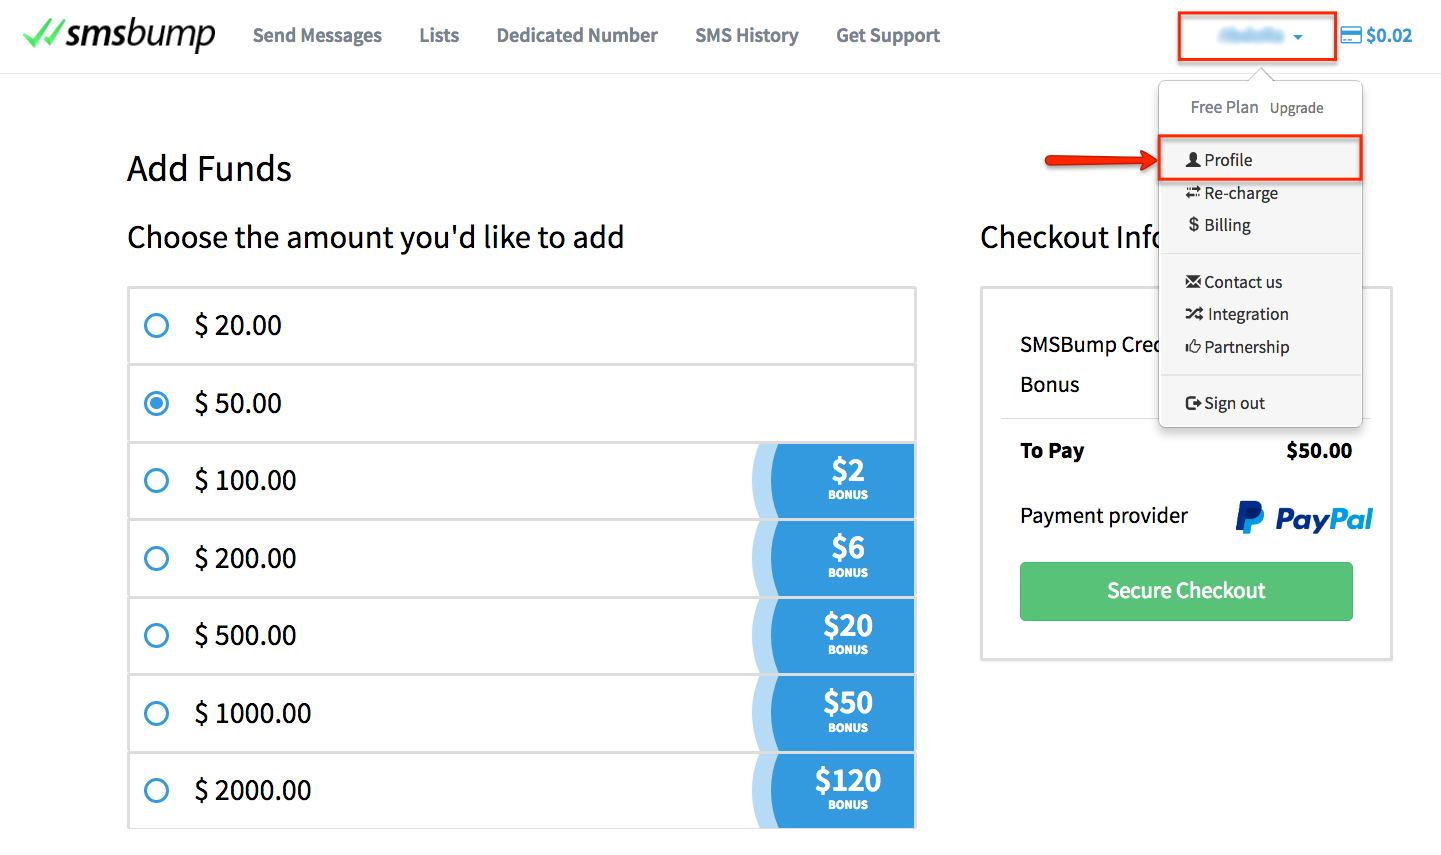
To set your time zone manually, you’ll need to log into your SMSBump account.
Click on Profile.
The Time zone field is located under your personal data.
Choose your preferred time zone and click Save.
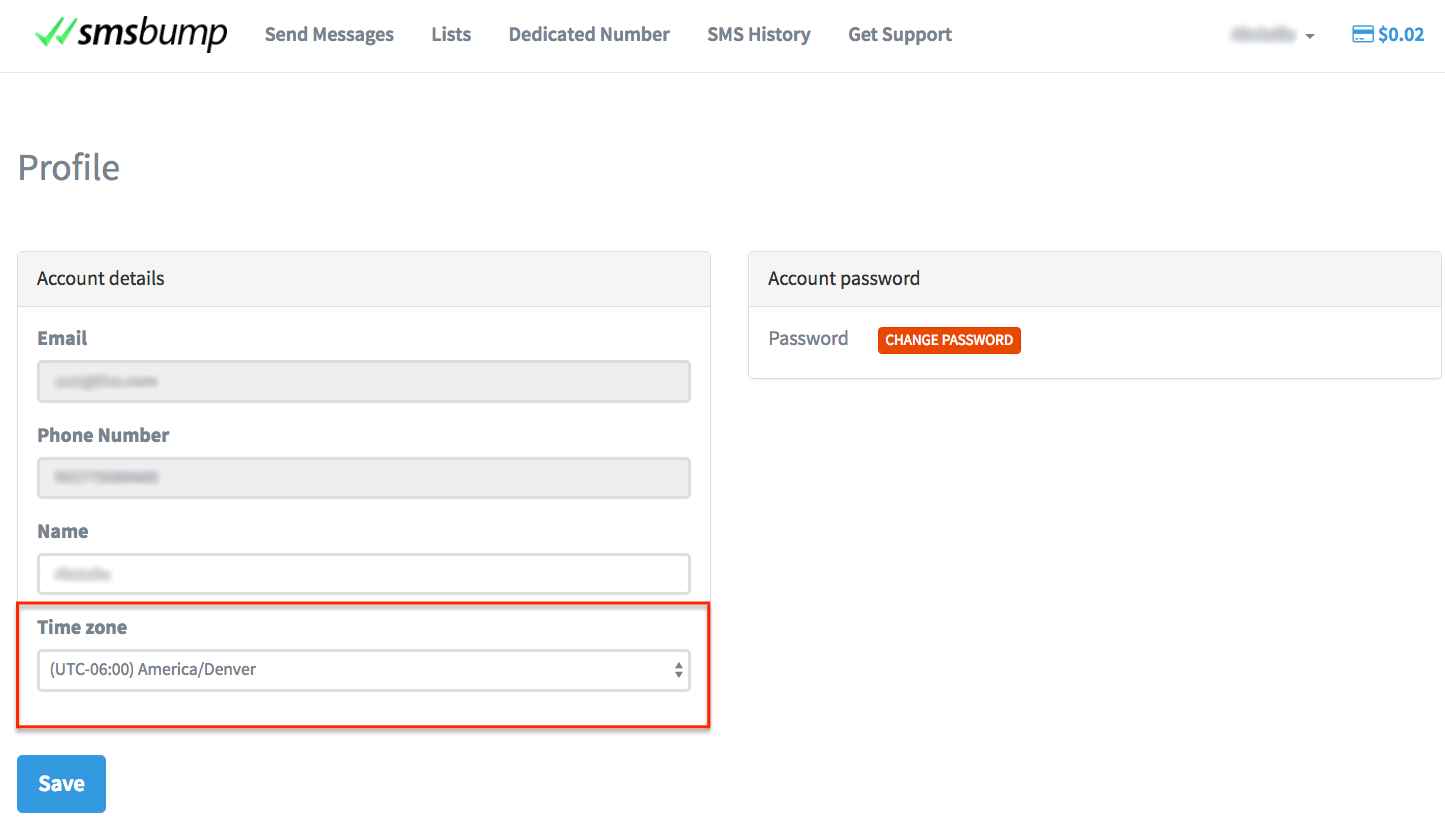
That’s it!
You’re all set and ready to start sending your SMS campaigns with perfect timing.
If you are using the SMSBump app on one of the platforms (Shopify, Bigcommerce, WooCommerce, PrestaShop, etc), you will soon have the option to set your time zone from the admin panel of your SMSBump app within your store.

Mihail Savov
Start growing today
Sign up today and join 90,000+ eCommerce businesses making it big with Yotpo SMSBump