

February 29, 2016
How to Install and Configure SMSBump in Shopify
Shopify is a synonym for simplicity, and that also goes for installing and configuring SMSBump in your E-Commerce store.
Let’s begin by entering the Shopify App Store to find SMSBump.
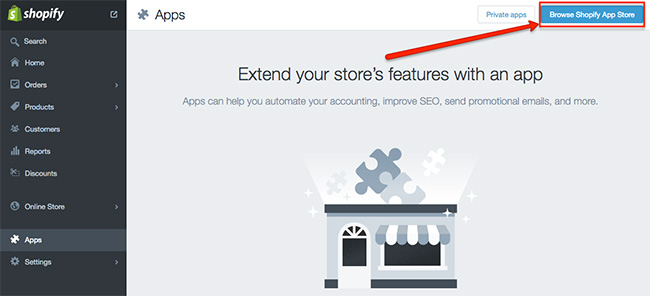
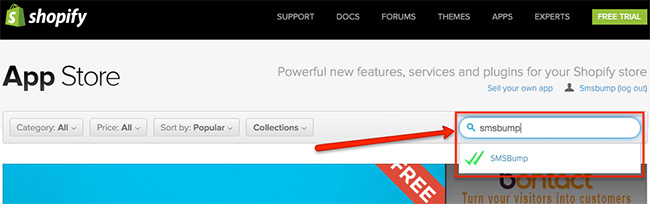
In the search field on the upper right corner, start typing SMSBump and the app will be shown. Click on it to continue.
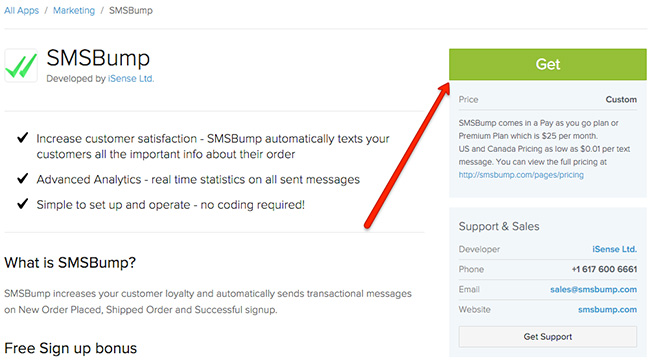
When you open the app page, you will see all of the details and information about the service as well as contact details for the developer.
To continue, simply click on Get.
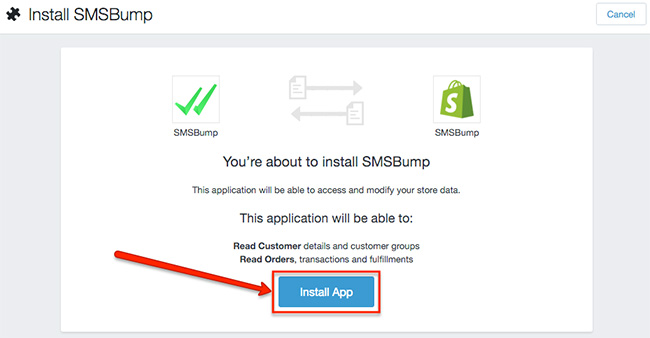
The next page will ask you to confirm the installation of SMSBump in your Shopify store. Click on Install App to continue.
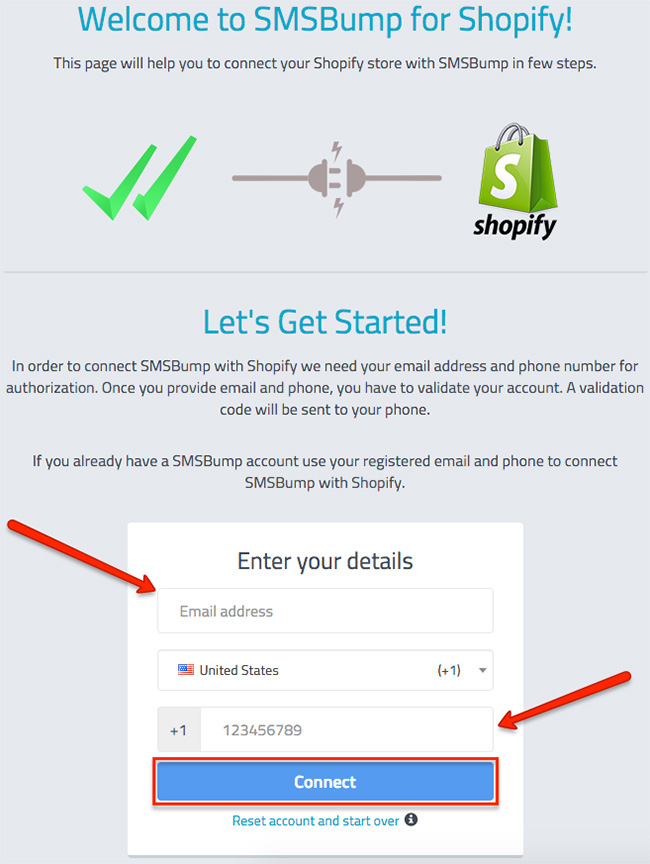
Next comes the confirmation page that notifies you of the successful installation of SMSBump. You will need to fill in your email address, country code and phone number. When you are done, click on Connect to continue.
Important: You have an option to reset your account and start over with setting up your connection. This is in case you make a mistake during the configuration.
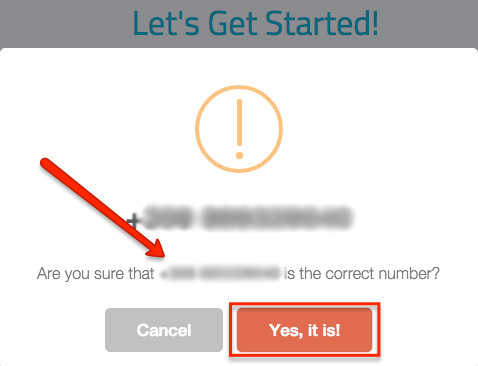
After you are finished with your details and click Connect, you will see a confirmation popup that lets you assure this is the right phone number.
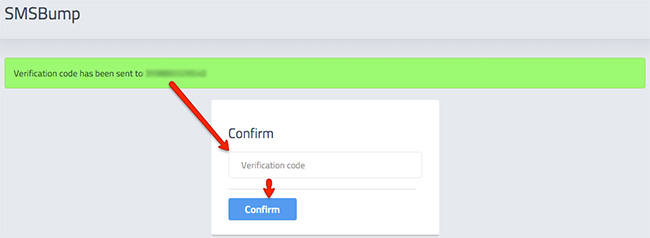
After confirming your phone number, you will receive a verification code to your phone as a text message. Type it into this field and click Confirm to continue.
This is the final step of setting up your installation of SMSBump in your Shopify store. The following steps will show the configuration of your settings and how to setup your app to suit your preferences.
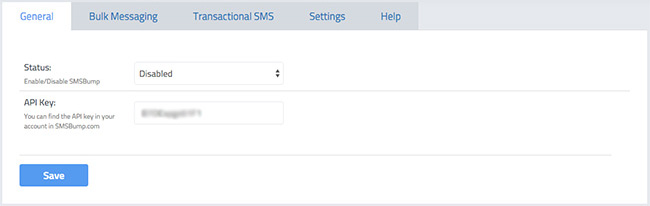
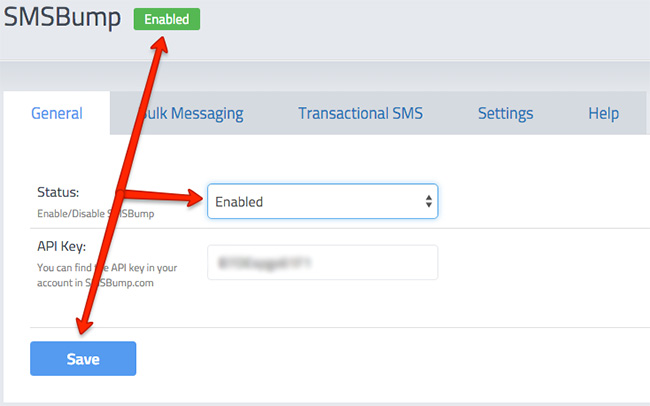
General
This is the tab where you enable or disable your app, and see your unique API key. We will come back to this when we configure the rest of the tabs and we are ready to enable the app.
Bulk Messaging
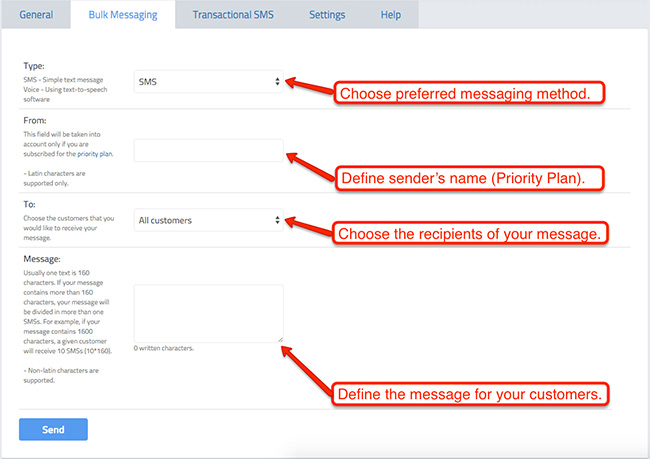
This tab allows you to configure the basic messaging settings.
-
Type: Define the type of message you want to send to your recipients.
-
From: If you have the priority plan, you can setup the sender name to represent your brand.
-
To: Choose who will receive your message.
-
Message: Simply type the message you want your customers to receive.
Transactional SMS
Choose when you or your customers will receive text messages with notifications from your store.
We will briefly analyze the four options you have in this tab.
![]()
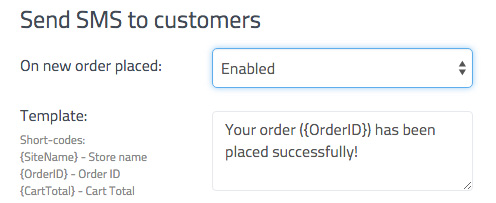
Define the template you want your customers to receive when they place a new order.
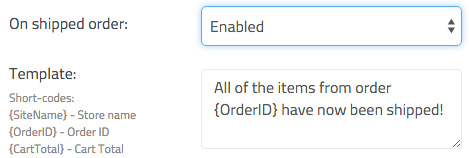
Define the template you want your customers to receive when their order is shipped.
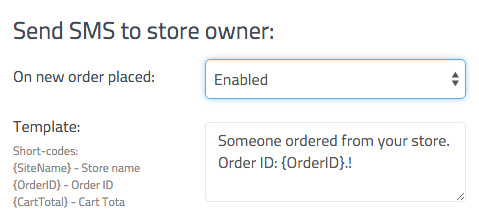
Define the template you want to receive when a customer places a new order.
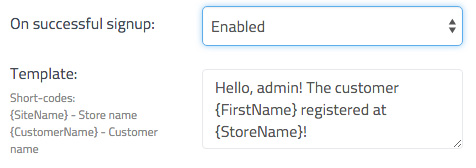
Define the template you want to receive when a new user has signed up in your store.
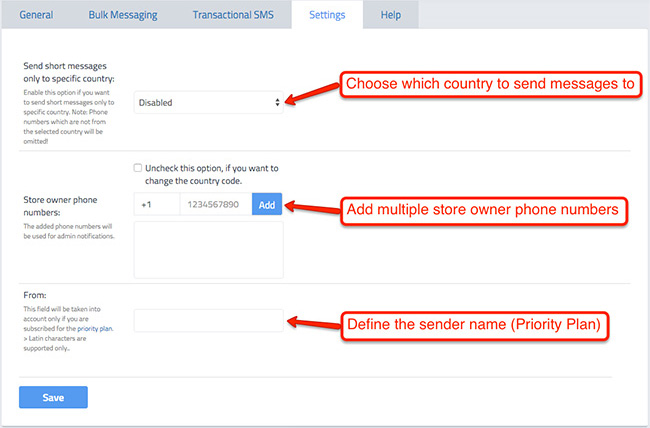
Settings
The Settings tab allows you to do the finishing touches of your app configuration. It includes the following fields:
-
Send country-specific messages: Choose if you want to send messages only to a specific country.
-
Store owner phone numbers: You can add multiple phone numbers if you want a separate number to receive admin notifications.
-
From: If you have the priority plan, you can setup the sender name to represent your brand.
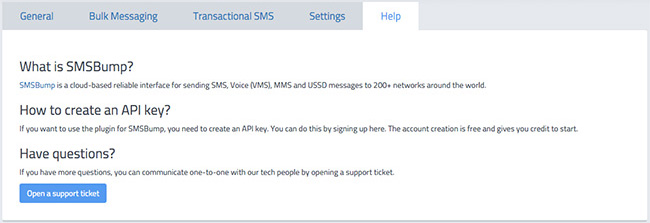
Help
The Help section shows all of the information you might need if you experience a problem with SMSBump. Feel free to contact our support team if you need assistance!
Enabling SMSBump
Once you have configured all of the settings, you can enable SMSBump from the status field. Are you ready to start sending and receiving notifications?
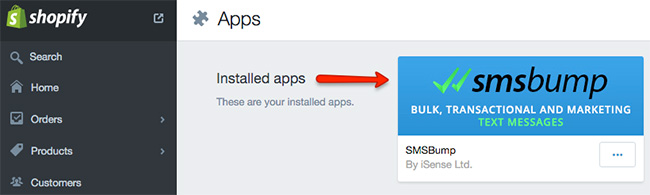
This was the final step of configuring the app in your Shopify store. You can now see SMSBump in your installed apps in the home menu of your store.
We hope this was a helpful guide. Have fun sending and receiving text notifications with SMSBump!

Mihail Savov
Start growing today
Sign up today and join 90,000+ eCommerce businesses making it big with Yotpo SMSBump