Installing and Using Listrak in SMS & Email
Installing and Using Listrak in SMS & Email
Article Summary
Share feedback
Thanks for sharing your feedback!
Listrak is a popular digital marketing solution and ESP (Email Service Provider). It features various automations, useful for online and multi-channel retail operations. Connecting Listrak and Yotpo SMS & Email syncs all new SMS & Email subscribers that have provided an email with Listrak.
In this article, you'll learn how to integrate Yotpo SMS & Email with Listrak.
Configuring Listrak
Before installing Listrak in the SMS & Email app, you need to enable the integration from their website. Go to your Home Dashboard (make sure you are logged in), click on Manage in the navigation menu, and then on Integrations.

Once on the Integrations page, click on the New Integration button.

Go to the Email API card and click on Integrate.

You should see the Email Integration page where you’ll click on Setup and fill out the following fields:
A: Integration Name: you are free to choose an appropriate name (like SMS).
B: Access levels: you just need to tick List and Contact for SMS & Email to work with Listrak
C: IP Address Whitelist: you need to add 6 IP addresses to the list for security purposes. For IP address type, choose Single IP Address. Now just add each of the IP addresses listed below one by one and click Add.

Whitelist the following 6 IP Addresses:
54.167.201.221
3.215.164.157
34.201.80.77
23.20.143.91
52.203.242.96
54.145.197.102
After ensuring everything is correct, click on the Save button in the top right corner. The Integration Settings section will refresh automatically, and your Client ID and Secret will appear.
Important:
If you don’t see the entire Integration Settings section after saving, you just need to click on it to expand.

Your Client ID and Client Secret will now be available:

Installing Listrak in SMS & Email
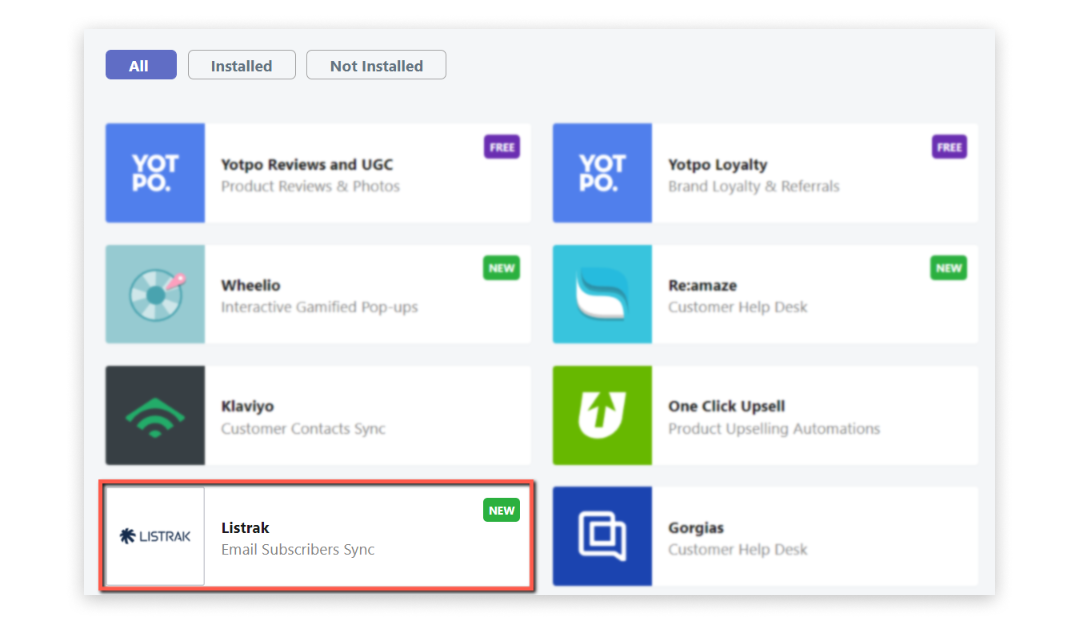
- In your Yotpo SMS & Email main menu, go to Integrations. Click Listrak. The dedicated Listrak page will appear.
- At the bottom, under Settings, you’ll see the Client ID and Client secret fields where you have to paste the ones generated before and click the Install button.
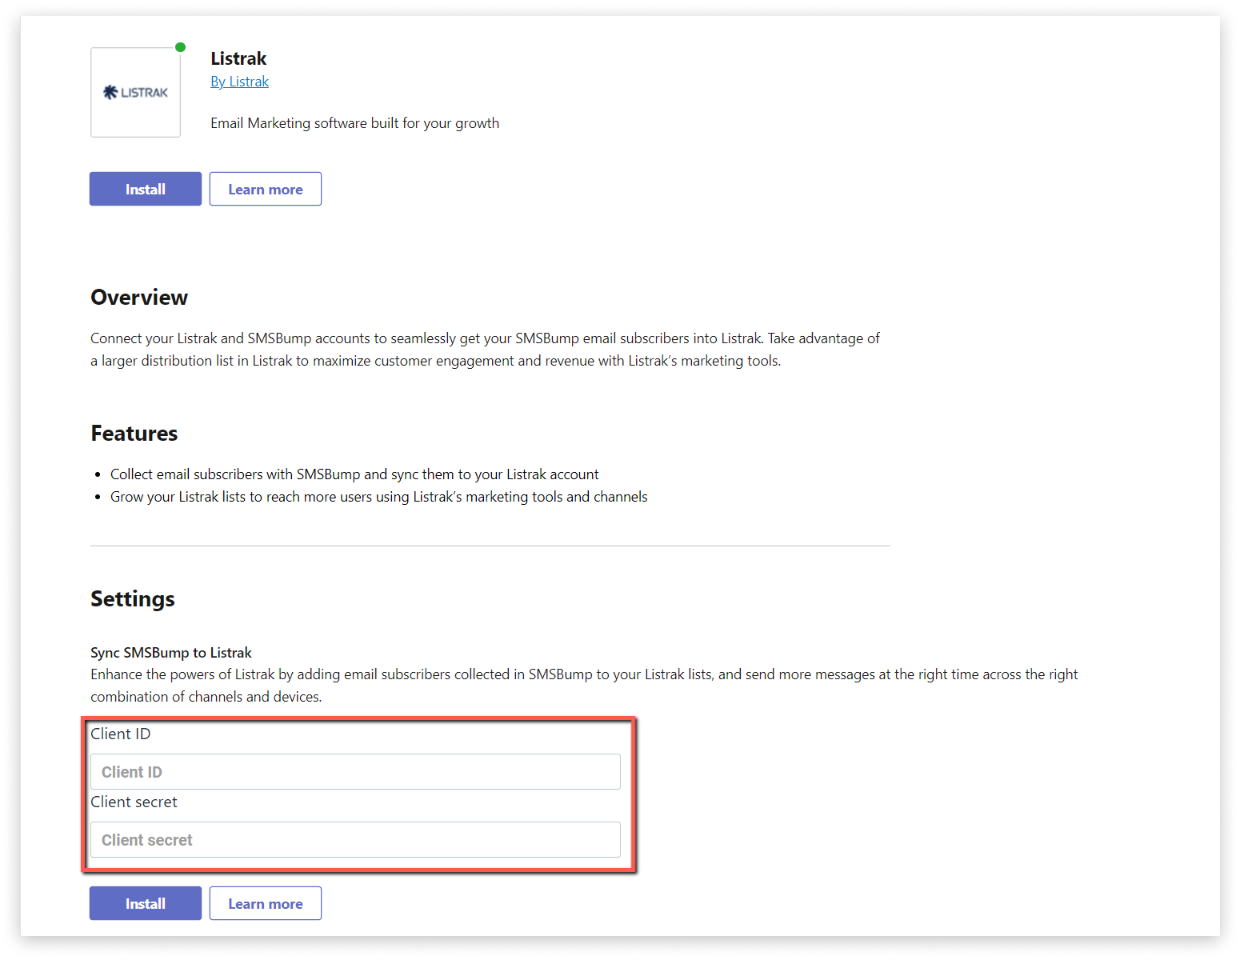
- After an automatic refresh, Listrak will be installed in your SMS & Email account. All you have to do is enable it from the toggle switch in the Settings section and choose the Listrak list you would like to sync subscribers to from the drop-down menu.


Every time a new email subscriber joins your SMS & Email list, it will appear in the chosen Listrak list.
Was this article helpful?