Installing and Configuring Slack in Yotpo SMS & Email
Installing and Configuring Slack in Yotpo SMS & Email
Article Summary
Share feedback
Thanks for sharing your feedback!
Connecting Slack with Yotpo SMS & Email lets you optimize customer support by providing one-click responses in SMS & Email Chat and track all conversations in a dedicated Slack channel. You can also receive important notifications on low balance and a 24-hour follow-up report on text marketing campaigns.
This guide will walk you through installing and configuring Slack in Yotpo SMS & Email.
Installing Slack
Installing Slack in SMS & Email is simple and can be done in four quick steps.
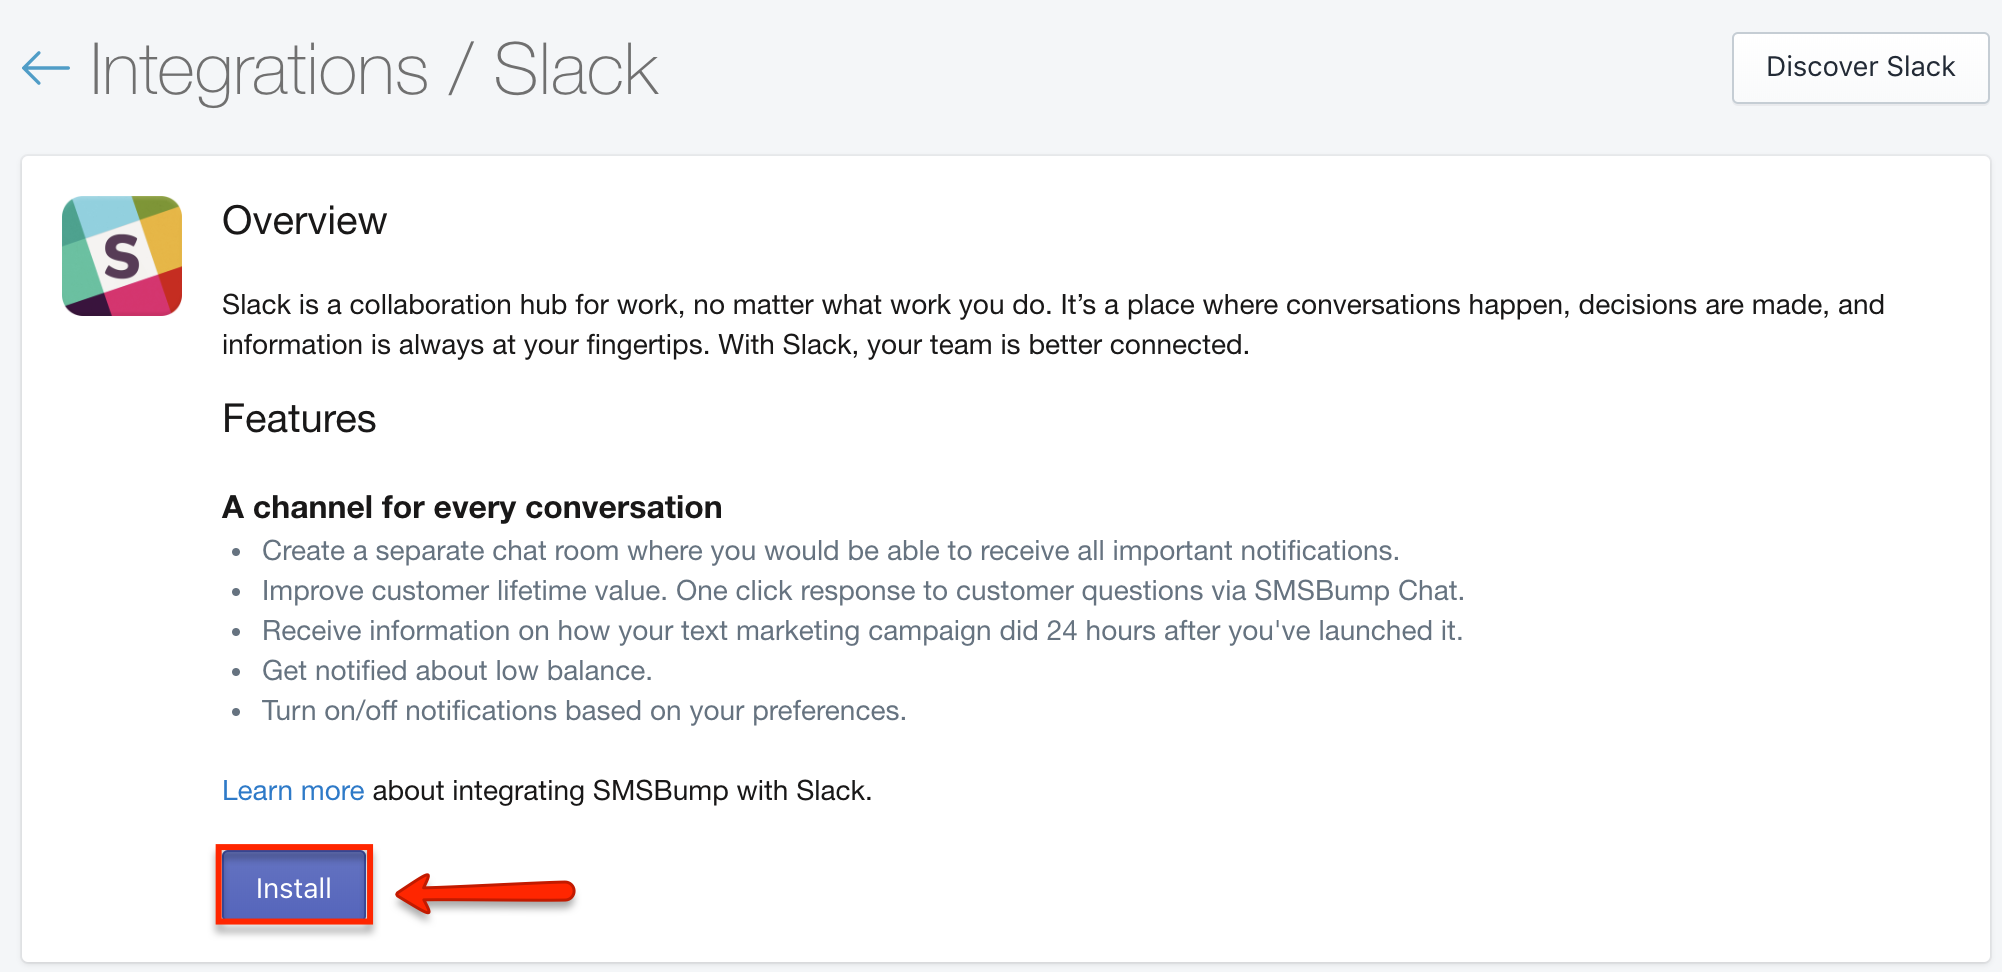
- From the SMS & Email side menu, click on Integrations and select Slack. Review the features and press Install.
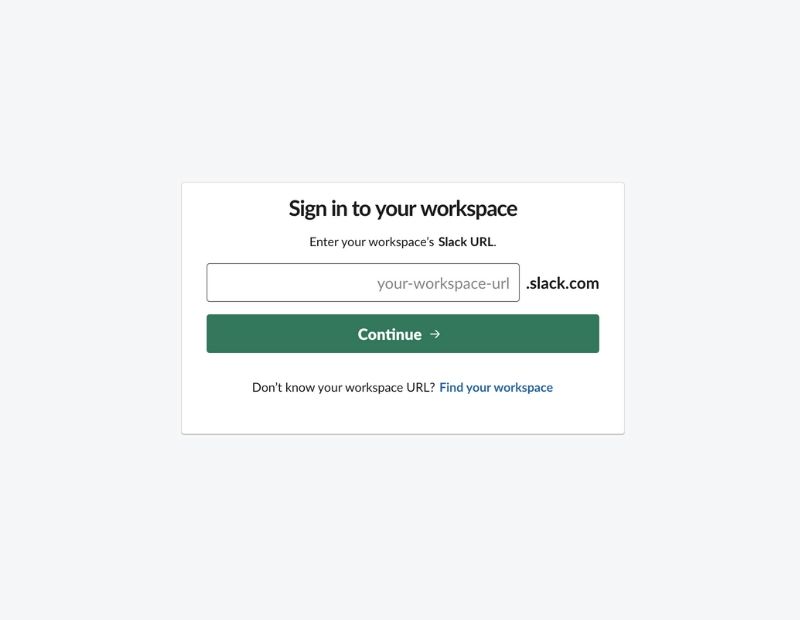
- Enter your workspace’s Slack URL and click on Continue.
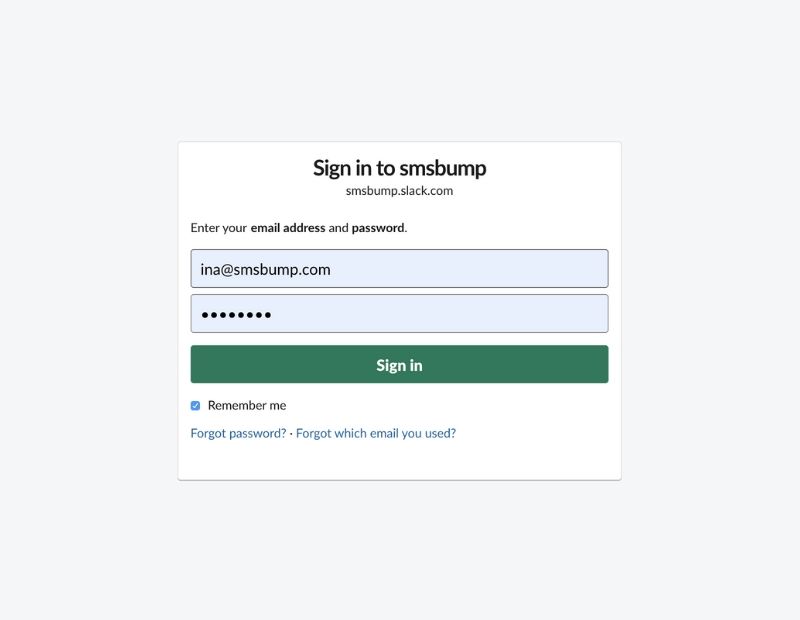
- Enter your login information and Sign in.
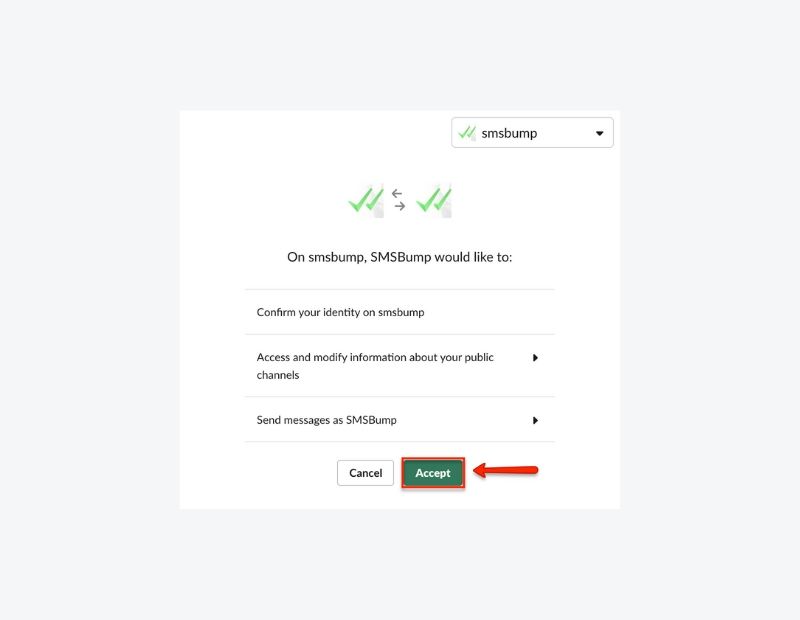
- Read over the terms of access and press on Accept. Good job, Slack is now installed in Yotpo SMS & Email.


Configuring Slack
Follow the steps below to configure the app in Yotpo SMS & Email so you can instantly give your customers the attention they deserve.
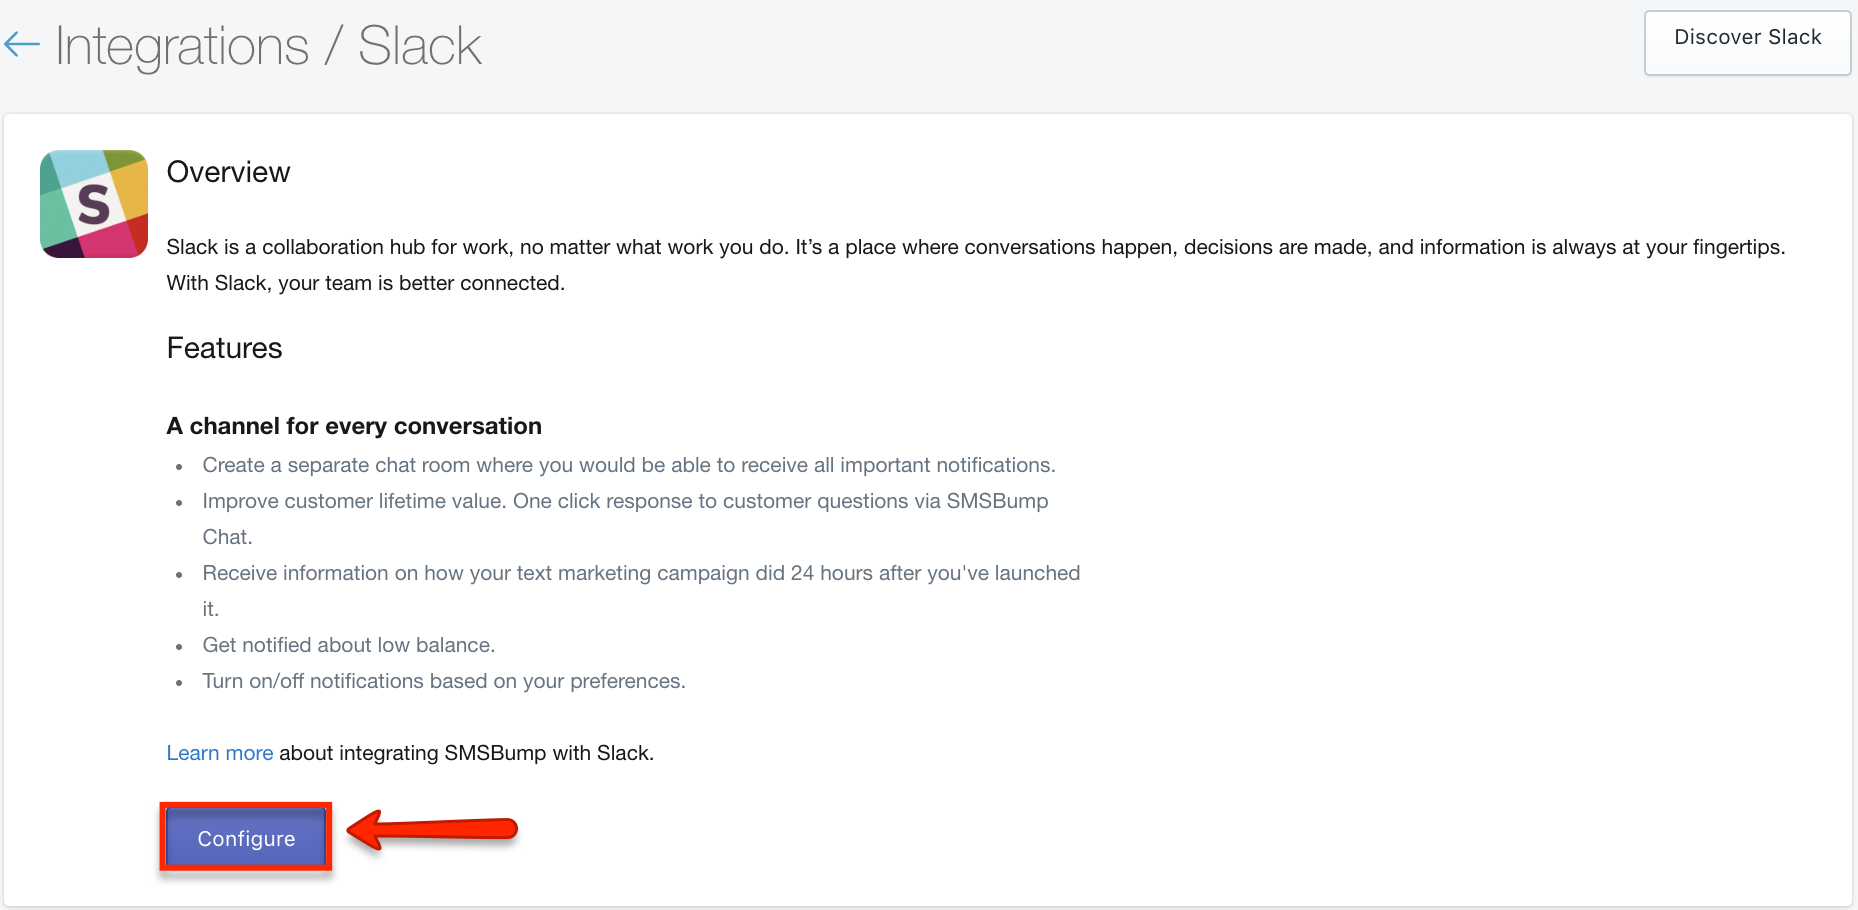
- Inside SMS & Email’s Integrations select Slack and click on the Configure button.
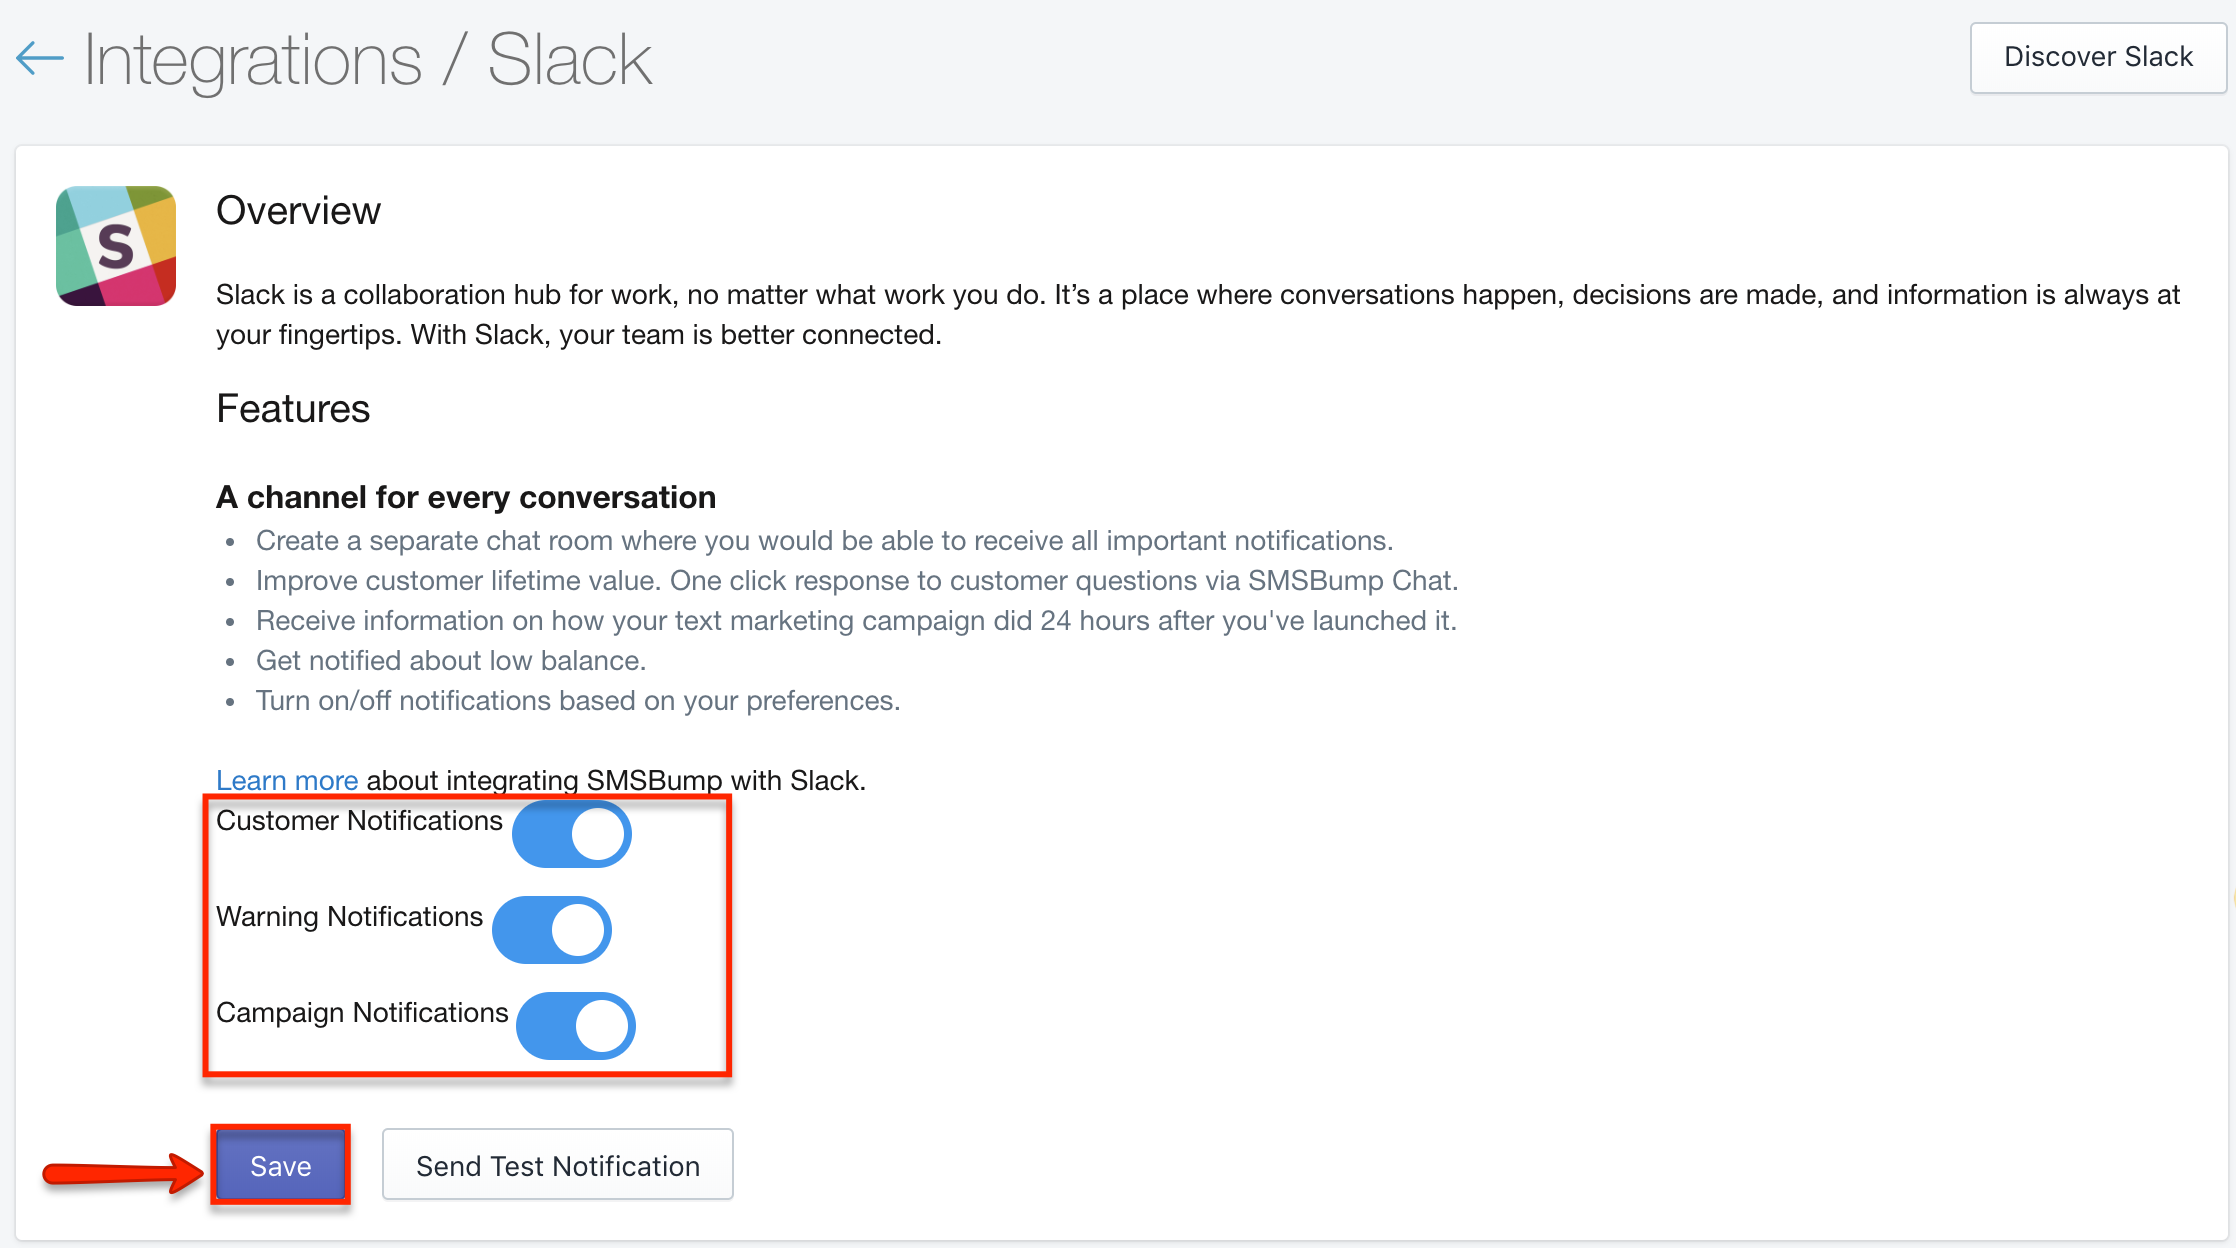
- Use the toggle to choose which notification to enable, then click on Save.
- Customer Notifications: Each time a customer sends a reply in SMS & Email Chat, a conversation notification will appear in Slack to which you can respond to straight away.
- Warning Notifications: If you are on SMS & Email’s Growth, you can receive notifications whenever your balance is running low.
- Campaign Notifications: Receive a performance report 24 hours after a launched text marketing campaign.
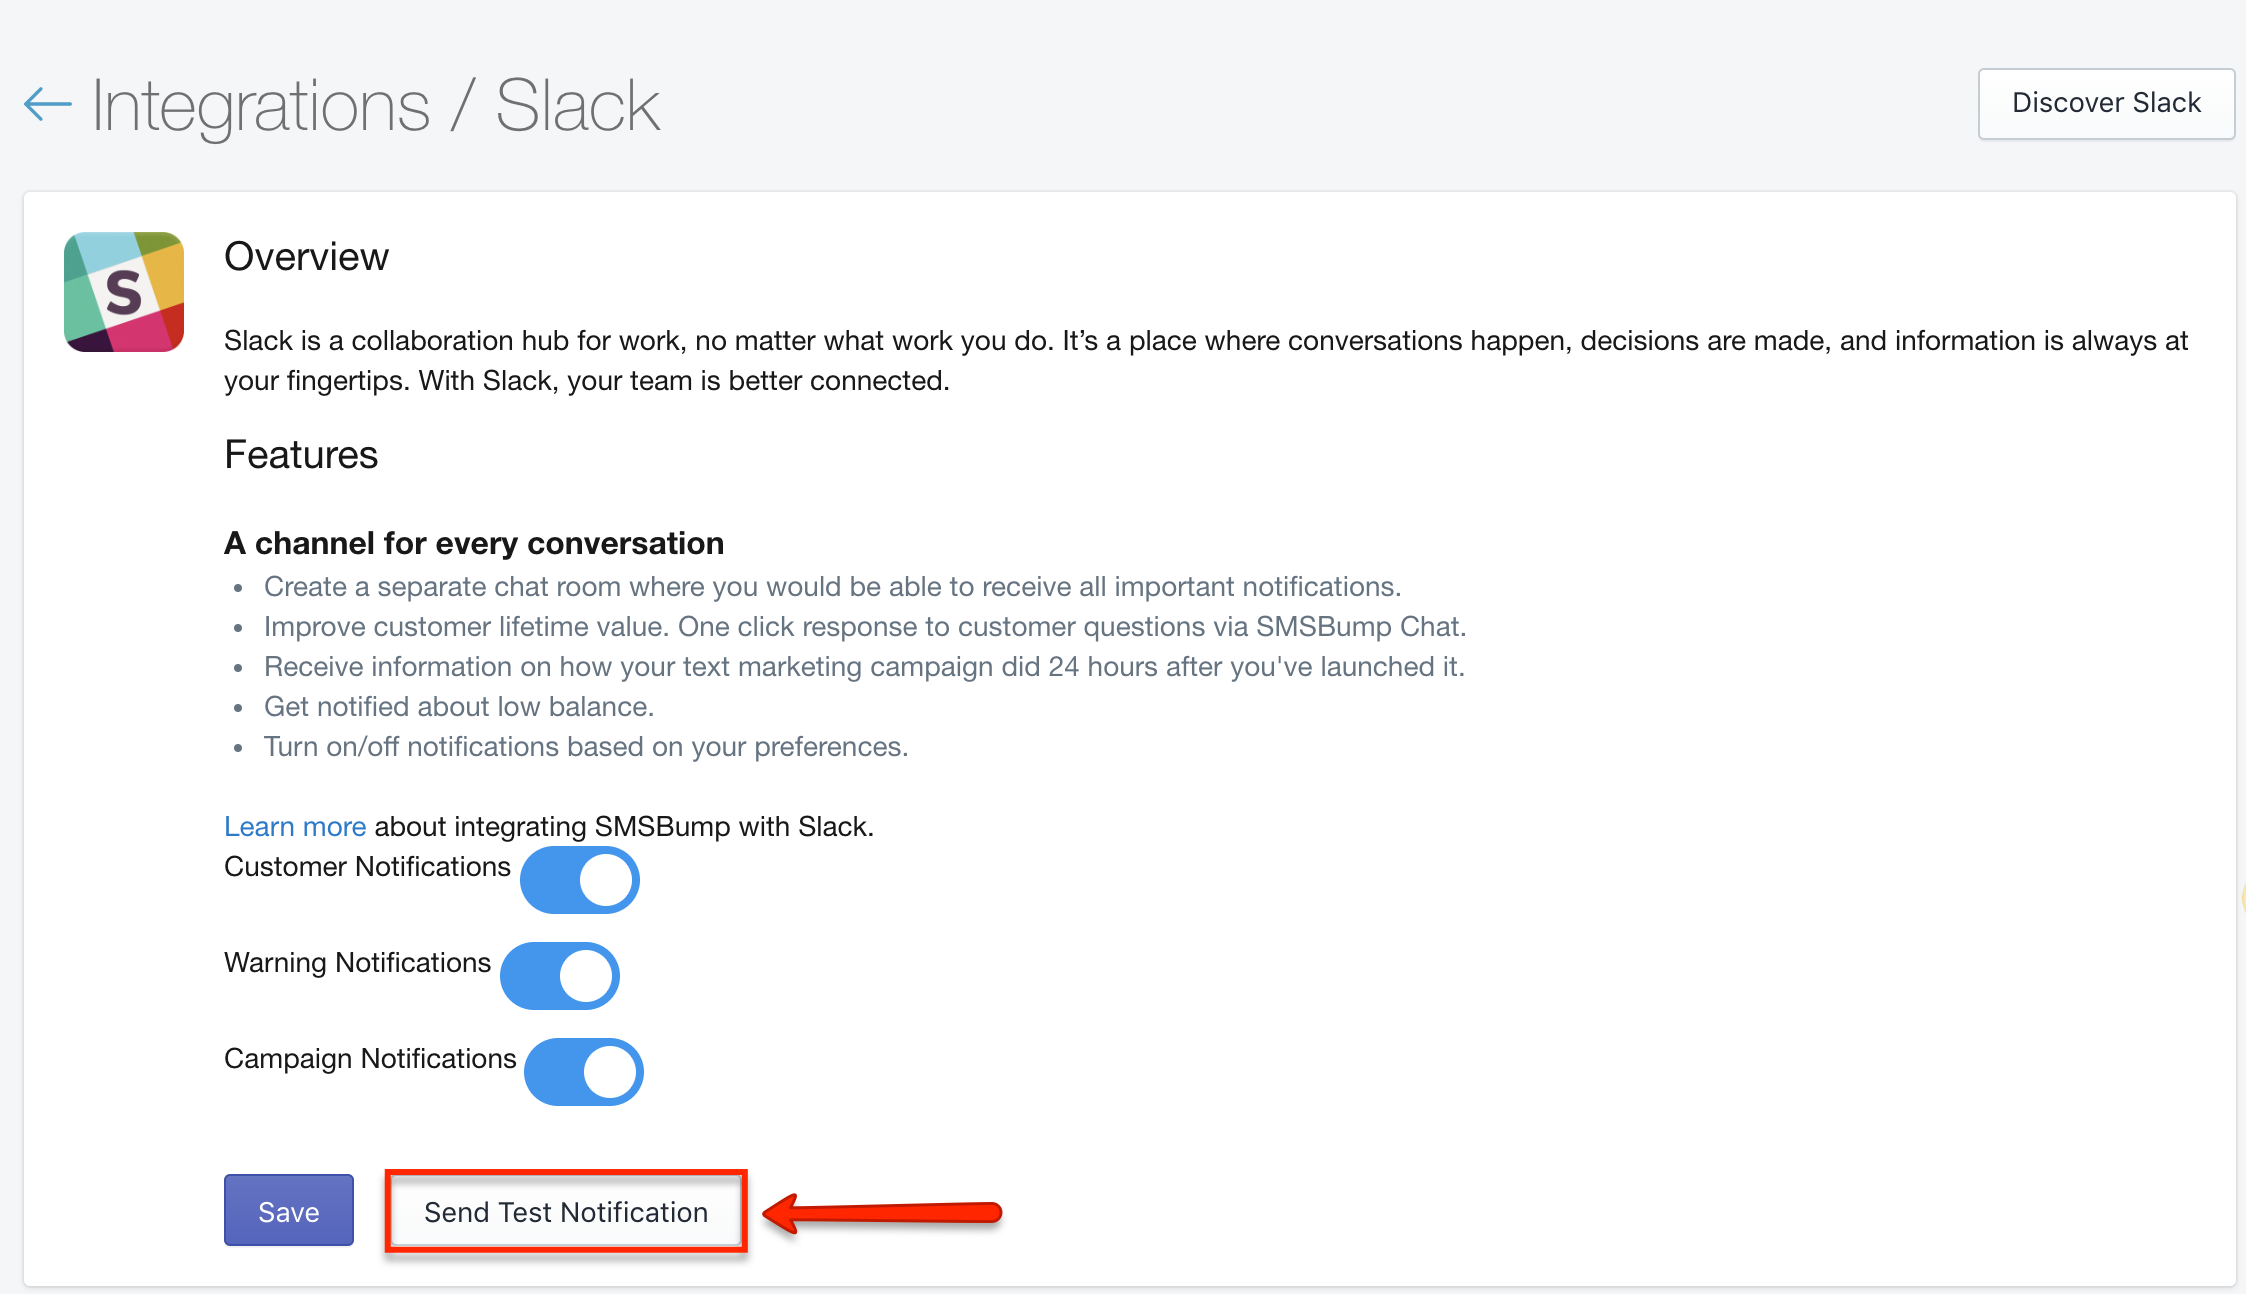
- 3. Click on Send Test Notification and you will receive a test notification in your Slack channel, SMS Notifications.
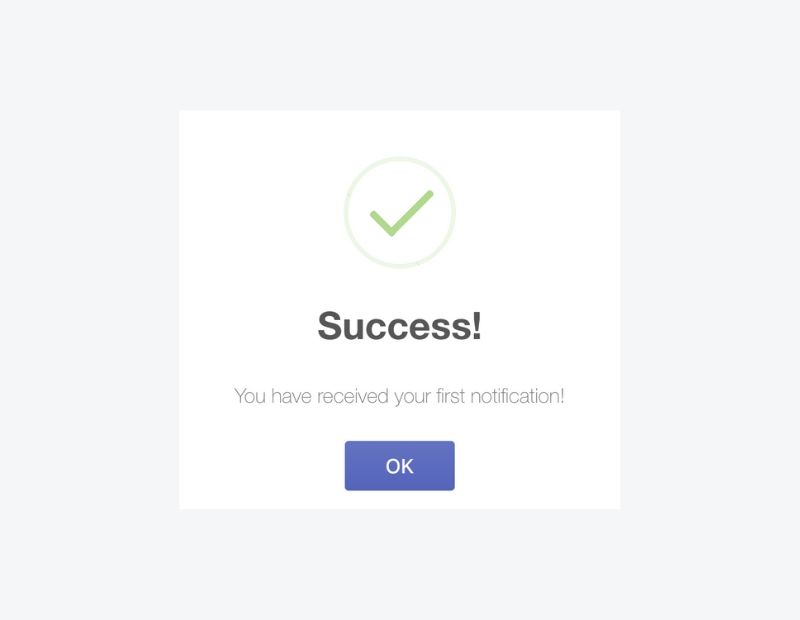
- Congrats, you have received your first notification in Slack.
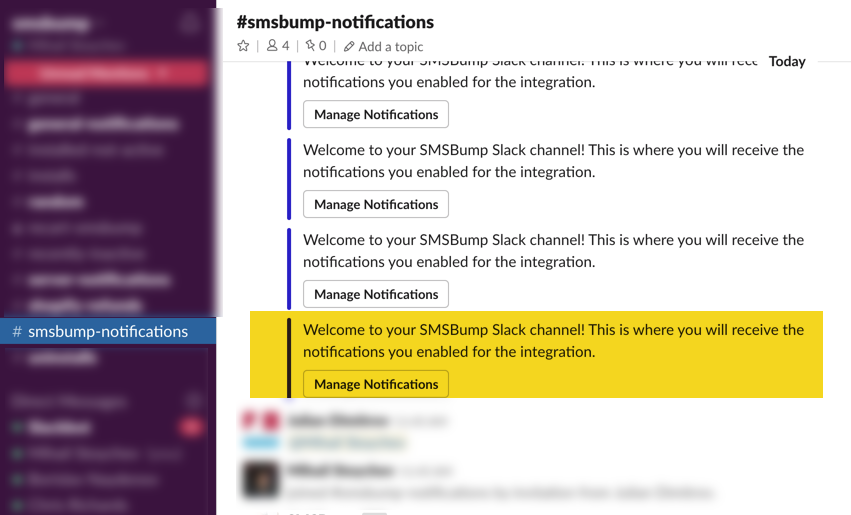
- You will start receiving notifications in your #SMS & Email-notifications channel. Click on Manage Notifications to edit which notifications are enabled. Good job, you are on your way to optimizing your Shopify store’s customer support.


Was this article helpful?