Collecting Subscribers with a Social Opt-in
The Yotpo SMS & Email Social Opt-in helps you collect text marketing subscribers simply yet effectively. It allows you to add a direct subscription link to your social media posts so your followers will be one tap away from joining your SMS lists.
The following article will show you how to set up a Social Opt-in in just two steps, implement it to your social channels and watch your subscribers grow!
Getting started
To create a social opt-in:
- In your Yotpo SMS & Email main menu, go to Audience > Subscriber Collection Tools.
- Click the Social Opt-in card. If you don't see it, click Show tools to expand the view. The editor window where you will set up all the details of your Social opt-in will appear.
- Click on the bottom right button to continue.

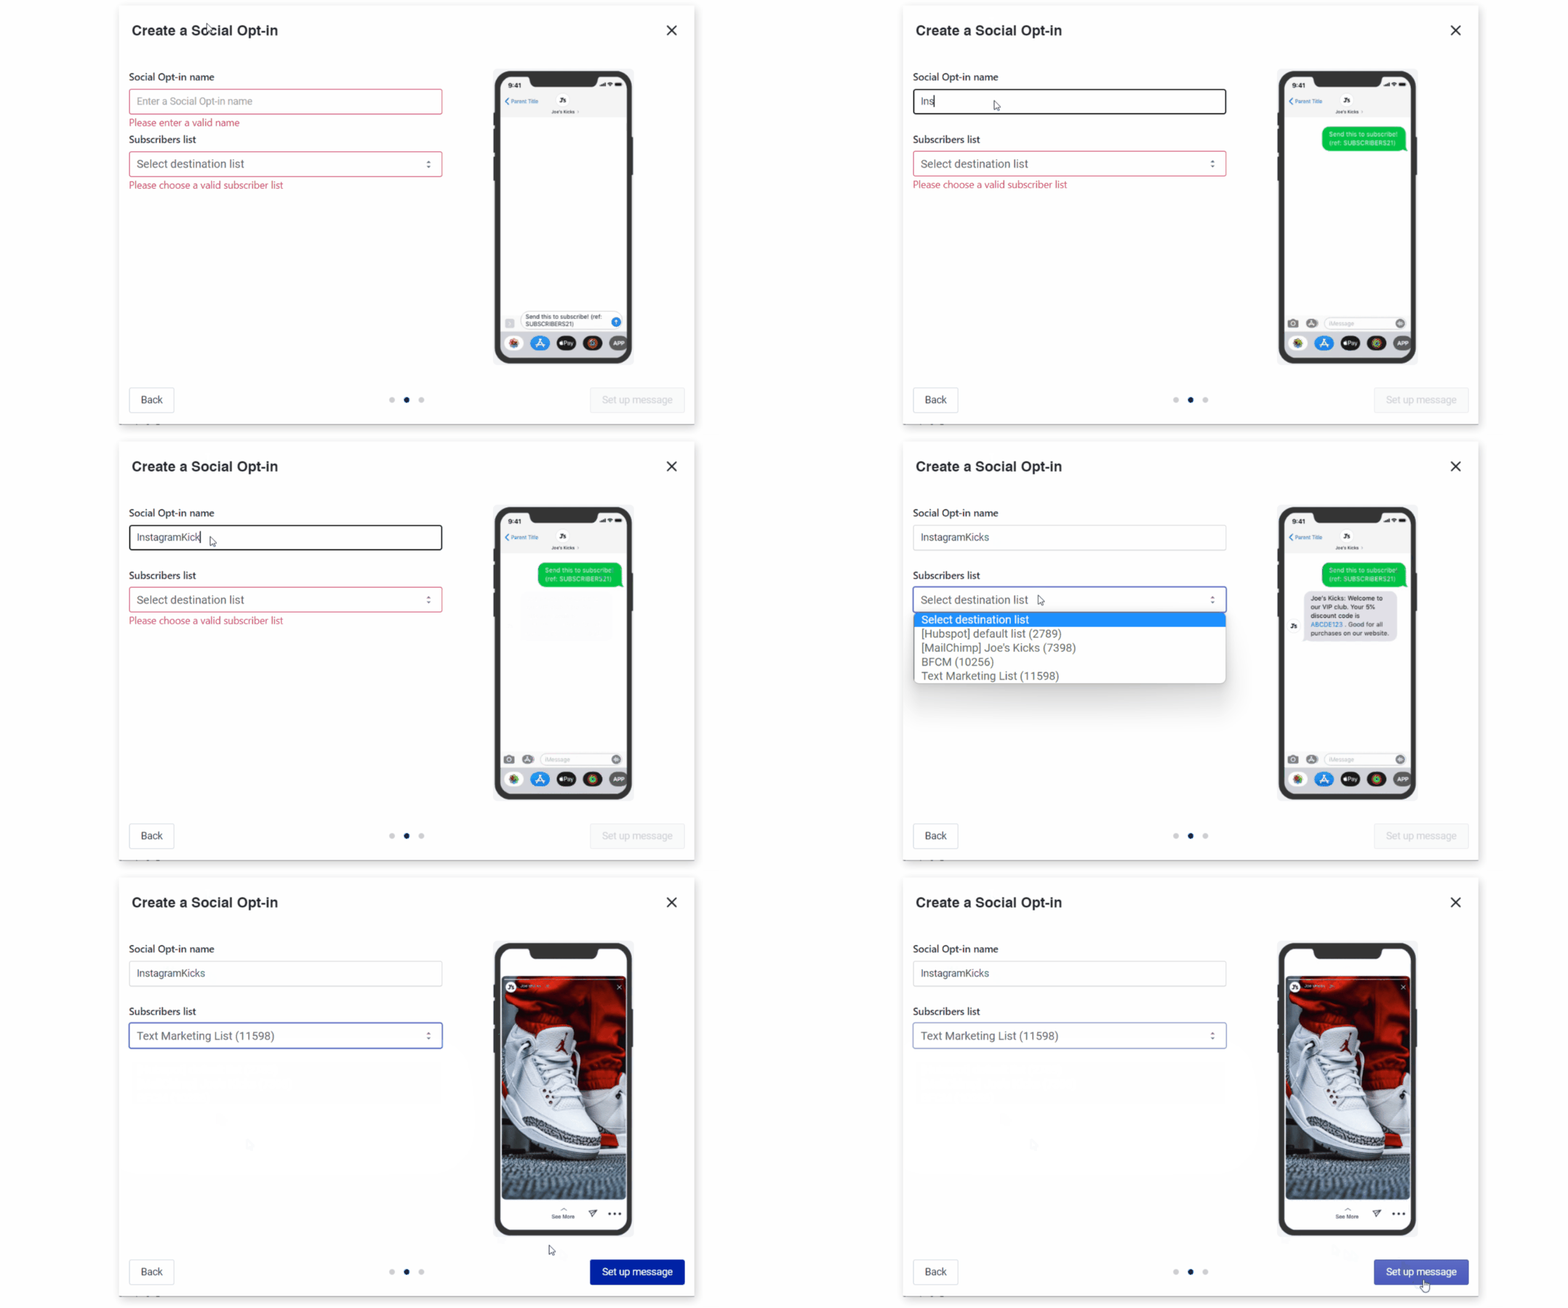
You can set up your Social opt-in by simply following these next two steps:
Step 1: Give a relevant name to your Social Opt-in campaign and choose a dedicated list that will store the phone numbers of all the people who subscribe via this Social opt-in. Click on the Set up message button to continue to the next step.

Step 2: Set up your Subscription Confirmation message. You can use the pre-set template or change the wording as you wish. Adding a small incentive will greatly improve your social opt-in conversion rate. So, don’t forget to set up the discount type and value of your choice from the shortcodes below the text box.
When you are done setting up your message, click on the Activate Social Opt-in button below.

A popup with the link for your social media publications will appear. Copy the link and paste it into your story settings
You’ll also see the necessary compliance text already pre-set for convenience.
Click on Close, and you are ready to start collecting subscribers through your social channels!

As with all other advanced subscriber collection methods we offer, you can follow the performance of your Social Opt-in in the Analytics section by simply clicking on the chart icon from the Subscriber Collection Tools dashboard.

You can track various metrics such as number of clicks, sent messages, subscriber growth, and conversion rate.

